REVIEW · REYKJAVIK
Sólheimajökull Ice Climbing Tour
Book on GetYourGuide →Operated by north ice · Bookable on GetYourGuide
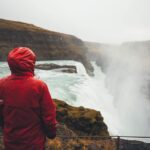
Ice climbing on a real glacier is intense—yet doable. This day trip takes you to Sólheimajökull, one of the closest glaciers to Reykjavík, and turns it into an actual skill session on ice. I love how the guides keep it simple and practical, with hands-on instruction from the first crampon step onward. I also love the small group feel, where you’re not waiting around while others climb.
You should know one possible drawback before you book: you’ll be cold and wet if the weather swings, and you’ll hike a short stretch on gravel before you ever touch the ice. That means you’ll want proper layers and gloves you can actually grip in. Also, it’s not suitable for pregnant women, so check that early.
If your idea of a perfect Iceland day includes waterfalls, big skies, and then a surreal walk on the ice itself, this hits the mark. Guides like Bergur (and the team at North Ice) focus on safety, pacing, and matching climbs to your comfort level, even when conditions aren’t ideal.
In This Review
- Key things you’ll notice fast
- Why Sólheimajökull makes sense for a first-time ice climb
- South Coast waterfall stops that break up the long day
- Getting geared up at the Sólheimajökull parking lot
- The glacier safety lesson: crampons, axe, and calm instructions
- Your first climb: learning on an easy ice wall
- Moving between climbing spots so you actually explore the glacier
- Two to three climbing locations: walls and a moulin
- What the 4 hours feels like on the ground
- Gear and clothing: what’s included vs what you must bring
- Price check: is $294 worth it?
- Who this tour is best for (and who should skip it)
- Quick tips to make your glacier day easier
- Should you book Sólheimajökull ice climbing with this small-group setup?
- FAQ
- Where does the tour start and where is the meeting point?
- How long is the Sólheimajökull ice climbing tour?
- How much does the tour cost?
- What gear is included for ice climbing?
- What should I bring with me?
- How much hiking is involved before you start climbing?
- Is the tour for beginners?
- Is this tour suitable for everyone?
Key things you’ll notice fast
- Beginner-first ice skills: start with an easy wall so your brain learns the movements before the ice gets serious
- Small group energy: limited to 5 participants, so you get time, attention, and fewer “stand here” moments
- Real glacier variety: you’ll move between climbing spots and try different styles of climbs
- Moulin climbs: an ice hole (called a moulin) is part of the fun—and the photo ops
- South Coast combo day: Sólheimajökull plus waterfall stops like Skógarfoss and Seljalandsfoss
- Included safety kit: harness, crampons, helmet, and ice axe are all provided for you
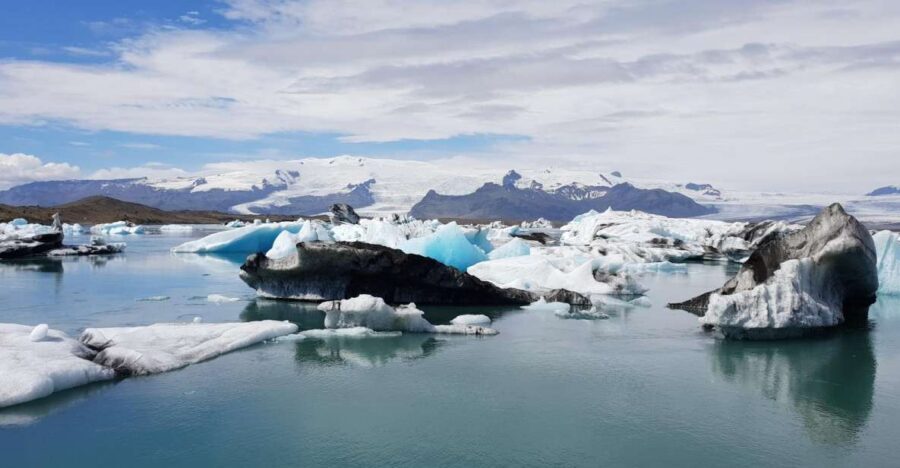
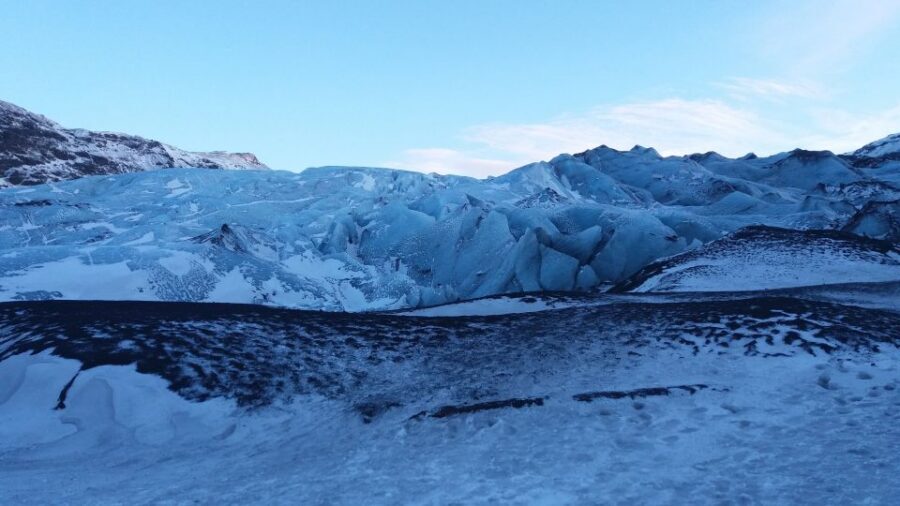
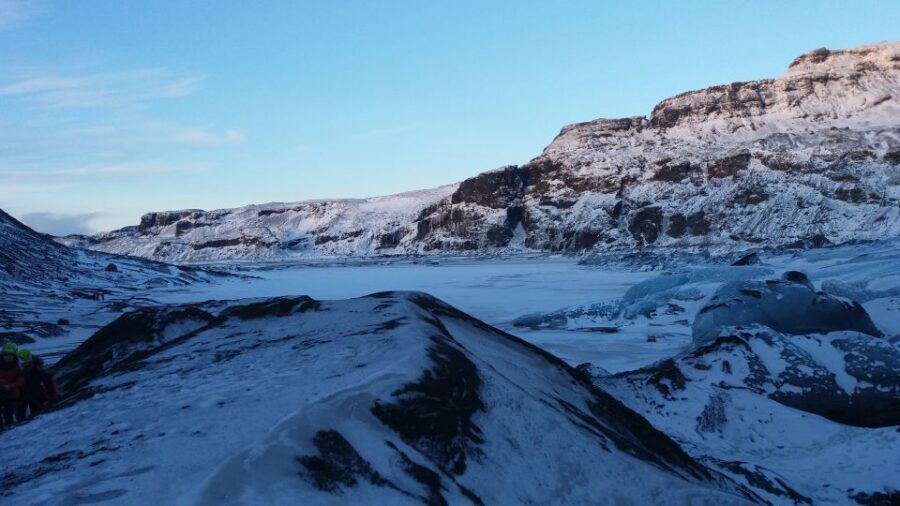
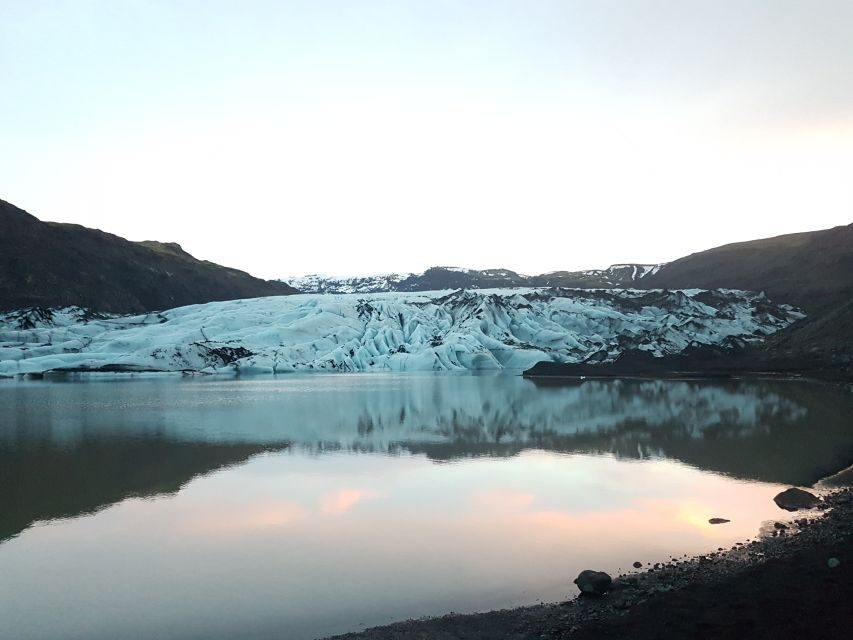
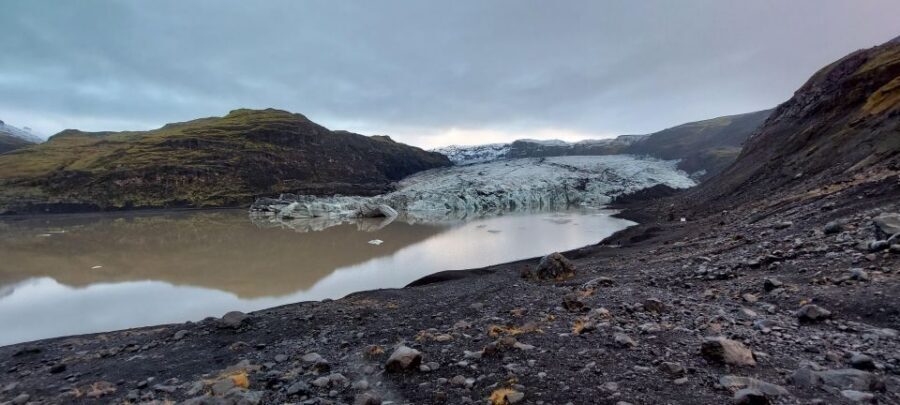
Why Sólheimajökull makes sense for a first-time ice climb
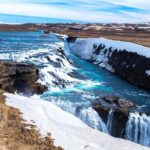
Sólheimajökull is an outlet glacier, meaning it flows out from a bigger ice system rather than sitting in a remote, hard-to-reach corner. That matters because it keeps the trip doable as a day excursion from Reykjavík—about 2 hours and 20 minutes’ drive, depending on conditions and your route.
What I find especially compelling is that you’re not just looking at ice. You’re climbing on it, which makes the glacier feel like a living place. This glacier system is connected to Mýrdalsjökull, and it sits in the south where Iceland’s geology is loud and active. Your guide will put the glacier into context as you’re on it, including the fact that the larger ice cap covers the active volcano Katla. Katla’s caldera is about 10 km across, eruptions usually fall in the 40 to 80-year range, and the last eruption was in 1918—plus scientists keep monitoring closely, especially after nearby Eyjafjallajökull activity ramped up in 2010.
That science bit isn’t just trivia. It helps you understand why glacier ice in Iceland is always changing, always shifting, and why your guide’s job is to read the conditions in real time.
You can also read our reviews of more tours and experiences in Reykjavik.


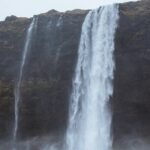
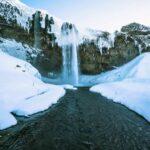
South Coast waterfall stops that break up the long day
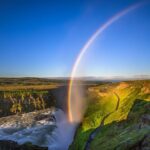
This tour isn’t only about ice. The south coast scenery is part of the value, and the highlights specifically call out Skógarfoss and Seljalandsfoss.
Here’s the practical angle: waterfalls like these give your brain a breather between the driving and the colder glacier part of the day. Iceland weather can go sideways quickly, and having outdoor stops that are still beautiful even in wind or drizzle helps you feel like the whole day is moving forward, not just waiting for a single moment on the ice.
Even if the day feels packed, these are iconic places for a reason. You’ll see big drops, strong water movement, and that classic coastal mood that Iceland does so well. Then you trade the roar of water for the quiet of the glacier and your own footsteps on ice.
Getting geared up at the Sólheimajökull parking lot
The day starts at the Sólheimajökull parking lot, where you get the glacier equipment required for the tour. You’ll be fitted with key gear like a harness, crampons, a helmet, and an ice axe.
This is one of the most important parts of the experience. If you’ve never worn crampons before, it can feel like “I’m about to trip the moment I move.” A good guide turns that anxiety into something manageable: you’ll learn how each item should feel and how it works with your steps.
You’ll then walk about 15 minutes on a gravel road to reach the base area. It’s not a huge hike, but it’s long enough that you’ll feel the cold and get your legs warmed up. I’d plan to take it slow, keep your footing steady, and mentally save your energy for the ice climbing section, where balance and focus matter more.
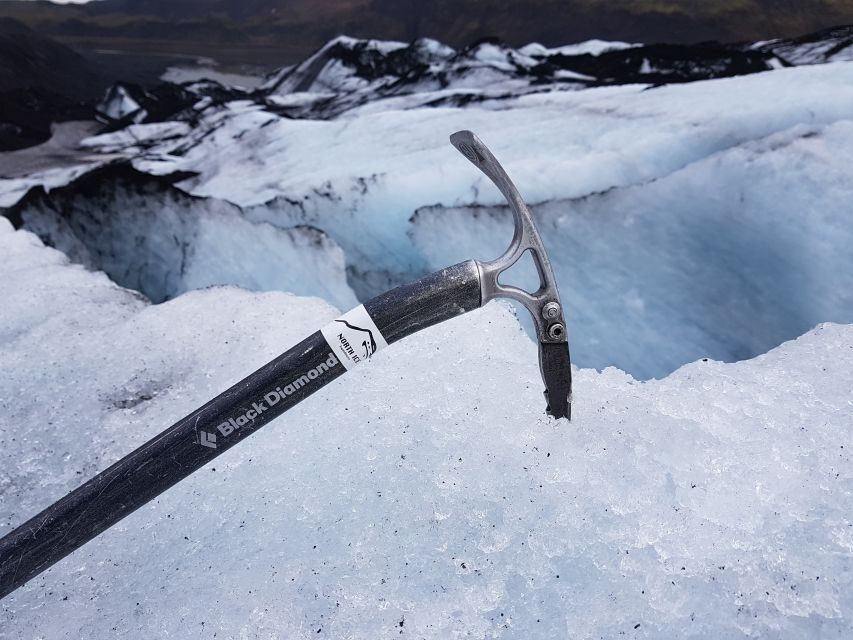
The glacier safety lesson: crampons, axe, and calm instructions
At the glacier base, you’re shown how to put on and use the gear. Then you move onto the ice, where the tour becomes hands-on instruction.
The best intro tours make you feel safe without making it boring. This one leans that way. The guides focus on simple technique: how to position your feet, what to do with the ice axe, and how to move with control rather than panic.
This is where you’ll see why the guides earn strong marks in the way they teach. Bergur (named in multiple accounts) is described as patient, careful, and very good at taking beginners from zero to climbing efficiently. The theme is consistent: you get explanations, time to practice, and no pressure. That combination is what makes ice climbing less like a stunt and more like a guided skill-building experience.
Your first climb: learning on an easy ice wall
Once you’re on the glacier, the tour starts with an easy ice wall. This isn’t random. It’s a smart progression: you get the fundamentals on ice that’s meant for learning, not testing.
You’ll practice basic ice climbing skills and techniques, usually with a short climb that lets you feel your crampons bite and helps you learn how to use the ice axe for stability and movement. Your guide will choose the exact wall and approach based on the group and the conditions, so don’t expect a one-size-fits-all script.
From a value standpoint, this matters. You’re not just paying for scenic time; you’re paying for correct instruction early enough that your later climbs feel more natural. That’s also why families and beginners often rate this highly: the first attempt is controlled, and the guide builds confidence.


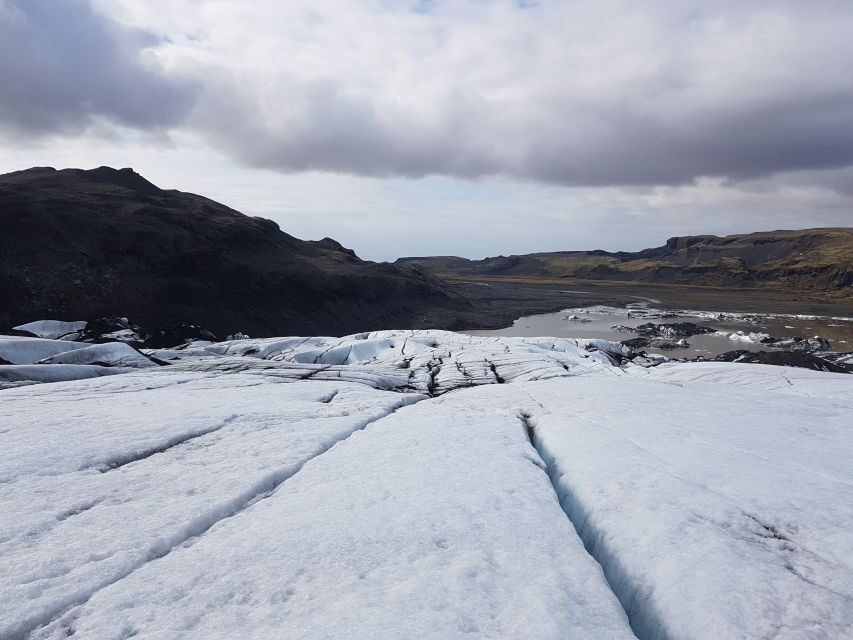
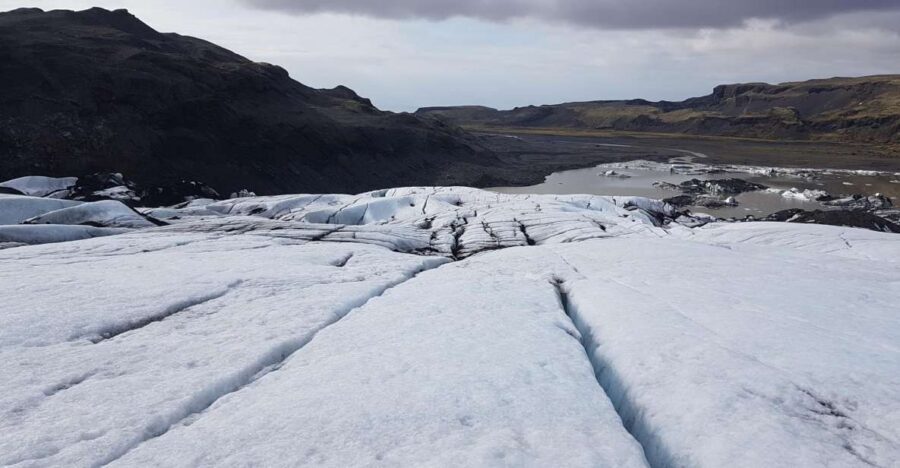
Moving between climbing spots so you actually explore the glacier
Between climbs, you’re walking to different spots. That’s part of the deal on a working glacier: you don’t climb the same patch for four hours. You’ll explore and get a feel for how the ice changes across the area.
This walking time is more than “getting from A to B.” It teaches you how to move with awareness—how to place your feet carefully, how to watch the ice texture, and how to stay calm when it’s slippery.
The tour’s structure gives you multiple chunks of activity instead of one long climb. People tend to leave feeling like they did more than one thing—because they did. One account even mentions a lot of separate climbs in a small group, which is exactly what you’d want from an instructional tour.
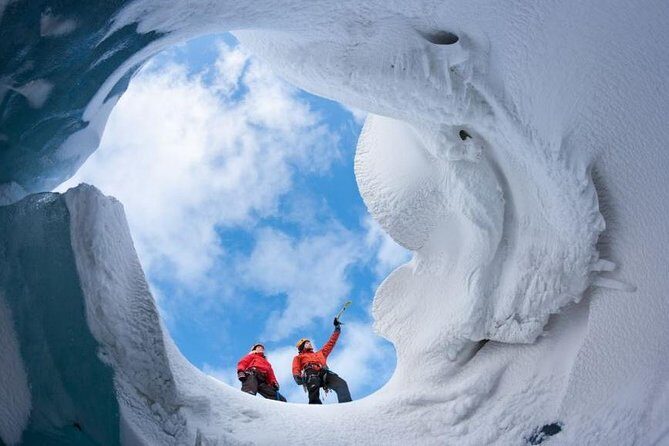
Two to three climbing locations: walls and a moulin
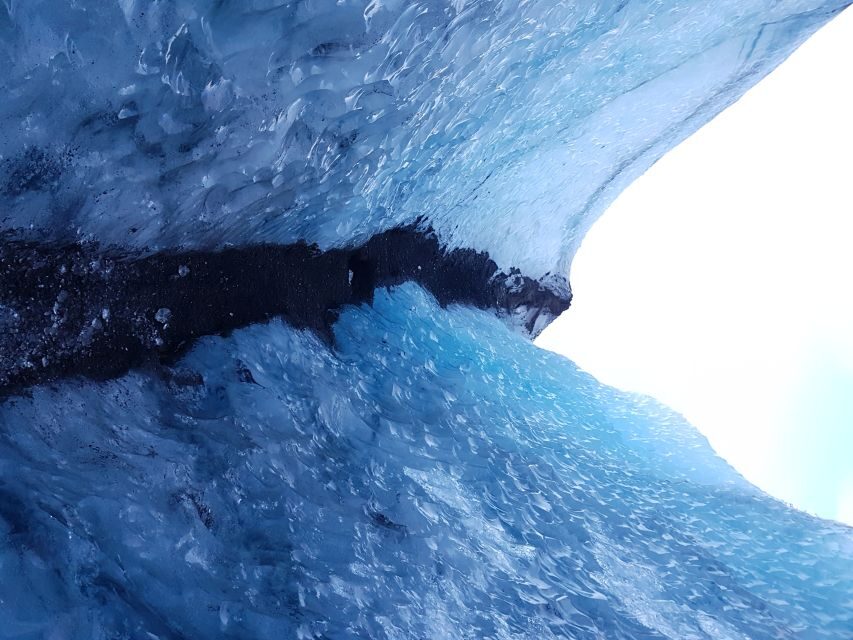
A big chunk of the excitement here is that you’ll try climbing in two to three different locations on the glacier. The variety can include a nice ice wall and climbing near or in a hole called a moulin.
If you’ve never heard that word before, here’s the plain idea: a moulin is an ice opening that can be climbed into and then climbed back up. It’s one of those experiences that sounds risky in theory, but in practice becomes fascinating because your guide teaches you exactly how to approach it and how to move with safety and control.
This is also where I’d expect you to feel the most “wow” moment. Climbing on ice can already feel surreal, but a moulin adds a whole extra layer of depth—both visually and physically. Even if weather changes the exact route choices, the tour is built to include these different climbing formats rather than sticking to only one wall.
Multiple accounts highlight that guides tailor the climbing spots and difficulty level to the group’s abilities. That means you’re not stuck doing something too hard, or stuck doing something too easy the whole time. You’ll feel challenged, but guided.
What the 4 hours feels like on the ground
The total duration is 4 hours. That includes gear time, walking, instruction, and multiple climbing attempts.
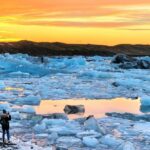
Here’s how it tends to feel in real life: the first chunk is all about setup and learning. Then the middle becomes active climbing. Finally, you end with time back near the parking area—where the day shifts from “ice skills” back to “I can’t believe this is real.”
You’ll also have time during the day for the south coast waterfall stops. So the schedule is basically a full Iceland day: drive, see waterfalls, hike in to the glacier base, climb, then return.
Weather can affect the exact timing and the feel of the day. Some experiences report rain, wind, or even blizzard conditions and still getting solid climbing time. The practical takeaway: don’t plan on the weather being polite. Plan on the guide handling it.
Gear and clothing: what’s included vs what you must bring
The tour includes glacier gear: harness, crampons, helmet, and ice axe. Your guide brings the gear, checks it, and teaches you how to use it.
What’s not included is the clothing you’ll need to stay warm. The tour doesn’t include a waterproof jacket or trousers, and you also need your own hat or gloves. Food and drink are also not included, so pack lunch or snacks.
This is the biggest “make or break” factor for comfort. Even if you don’t feel cold at the parking lot, glacier air and melt spray can change that fast. Bring warm layers you can move in, plus waterproof outer layers if you have them. Gloves need grip. You’ll be using your hands near ice, and numb fingers ruin your whole day.
One practical tip I’d follow: dress in layers that you can regulate. If you start sweating on the gravel hike, you’ll chill later. Use the same common-sense approach you’d use for Iceland hiking, just with extra attention to waterproofing.
Price check: is $294 worth it?
At $294 per person for 4 hours, it’s not cheap on paper. But ice climbing tours in Iceland cost what they cost for a reason: you’re paying for expert supervision, real safety equipment, and a guided experience that’s physically and technically demanding.
Here’s what you’re getting for the money, based on what the tour actually provides:
- Pro local guide who teaches and supervises your gear use
- Full glacier safety equipment (harness, crampons, helmet, ice axe)
- Beginner progression: start on an easy wall, then add more climbing spots
- Multiple attempts across 2–3 locations, sometimes including a moulin
- Small group size limited to 5 participants, which usually means more hands-on time
When you compare that to tours that hand you gear and point you at a single climb, the value changes fast. Here, the structure is instruction-focused, and the guide time is clearly part of what you’re paying for.
If you’re already planning a south coast day, the itinerary also includes waterfall highlights like Skógarfoss and Seljalandsfoss. That doesn’t make the price magically cheap, but it does mean you’re stacking memorable sights in one go.
Who this tour is best for (and who should skip it)
This is a beginner or introduction level ice climbing experience, and no special skills are required. You don’t need to be super fit to enjoy it either. You’re still outdoors, still walking, and still climbing, so you’ll want to be comfortable with cool temperatures and some physical effort.
This tour is a good fit if:
- you want a first-time introduction to ice climbing with real instruction
- you like small group experiences with personal attention
- you want both glacier time and south coast sightseeing in one day
- you’re traveling with teens or a mixed-experience group and want a guide who can pace different people
It’s not suitable for pregnant women, as clearly noted. If anyone in your group has medical concerns, it’s smart to ask before booking, especially when the activity involves harnesses, crampons, and climbing on uneven ice.
Quick tips to make your glacier day easier
I’d plan your day like this:
- Pack warm, waterproof layers, plus hat and gloves since they’re not included
- Bring lunch or snacks so you’re not relying on finding food mid-day
- Expect a gravel walk to the base area, then an active climb portion
- Don’t fight the guide’s pace. The best days happen when you follow instructions and focus on technique
Also, keep your mindset light. Ice climbing is a bit humbling at first—then it becomes fun fast. The guides consistently emphasize safe movement and repeatable techniques, so you’ll feel your confidence rise as the day goes on.
Should you book Sólheimajökull ice climbing with this small-group setup?
I’d book it if you want a true first ice climbing experience with gear provided, a pro guide, and a plan that includes more than one climb location. The small group limit matters because you get time to practice, not just time to watch.
I’d hesitate only if you’re worried about cold, wet conditions, or if you’re not able to do some walking and standing on slick ground before the climbs. It’s also a no for pregnant travelers.
If you want one of the most memorable, hands-on outdoor experiences in Iceland—and you like the idea of learning real technique on a glacier close to Reykjavík—this is a strong choice. Just show up dressed for the cold, listen to the guide, and be ready for that surreal moment when the ice looks like a world of its own.
FAQ
Where does the tour start and where is the meeting point?
You meet at the Sólheimajökull parking lot. Drive east on road 1 past Hveragerði, Selfoss, Hella, and Hvolsvöllur, continue over the long single file bridge, then turn left to road 221 and continue to the end.
How long is the Sólheimajökull ice climbing tour?
The duration is 4 hours.
How much does the tour cost?
The price is $294 per person.
What gear is included for ice climbing?
The tour includes glacier gear including a harness, crampons, helmet, and ice axe, plus a local guide.
What should I bring with me?
Bring warm clothing and waterproof gear such as a waterproof jacket or trousers, plus a hat and gloves. Pack food or snacks, since food and drink are not included.
How much hiking is involved before you start climbing?
After meeting at the parking lot and getting gear, you hike about 15 minutes on a gravel road to reach the base of Sólheimajökull.
Is the tour for beginners?
Yes. It’s an introduction level tour, and no special skills are needed.
Is this tour suitable for everyone?
It is not suitable for pregnant women. Also, the tour requires a minimum of two participants to go ahead.