REVIEW · VIK
Vik: Guided Glacier Hike on Sólheimajökull
Book on GetYourGuide →Operated by David The Guide Iceland · Bookable on GetYourGuide
Ice under your boots beats any postcard. This is a non-technical guided hike on Sólheimajökull, an accessible outlet glacier of the larger Myrdalsjökull ice cap. You start in camp near Vik, get fitted with safety gear, then walk over snow, ice formations, and a murky glacier lagoon before the views open up.
What I love most is amazing photo ops on moving ice, and the chance to refill your bottle with meltwater. One thing to consider: you really need the right footwear—hiking boots are required, and regular sneakers may not work with crampons.
In This Review
- Key Things That Make This Glacier Hike Worth It
- Sólheimajökull Glacier Hike in 3 Hours: What It Feels Like
- From Parking Lot to Crampons: Getting Ready the Right Way
- The Lagoon Edge: Where the Hike Starts Before It Gets Spectacular
- Glacier Formations You Can Actually See Up Close
- Photo Ops That Don’t Feel Like a Photoshoot
- The Views at the Top: Mountains, Westman Islands, Black Sands
- Drinking Glacier Water: A Small Stop With Big Personality
- Pace, Safety, and the Kind of Guide You Want on Ice
- What to Bring: Your Real Checklist for Glacier Comfort
- Price and Value: Why $120 Can Make Sense
- Who Should Book This Hike on Sólheimajökull
- Should You Book This Sólheimajökull Glacier Hike?
- FAQ
- How long is the guided glacier hike on Sólheimajökull?
- How much does it cost?
- Where do I meet the guide?
- What’s included in the price?
- What should I bring?
- What should I wear in terms of shoes?
- Is the tour suitable for children, pregnancy, or mobility needs?
- Is transportation included?
Key Things That Make This Glacier Hike Worth It
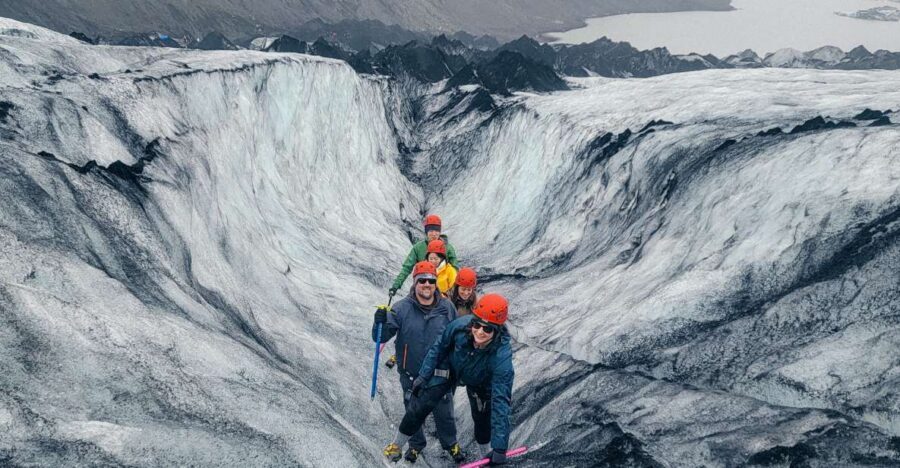
- Crampons, helmet, harness, and ice axe are provided and fitted on site
- Non-technical route with a guide trained to manage glacier terrain safely
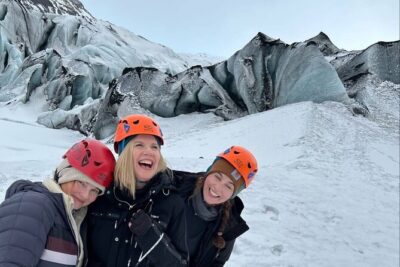
- Photo-friendly ice features like icicles, ice walls, and crevasse views
- Glacier water stop, so you’re not just looking—you’re tasting the place
- Expert explanations of how glaciers form and what threatens Iceland’s ice caps
- Small-group feel on many departures, which helps you get breathing room on the ice
Sólheimajökull Glacier Hike in 3 Hours: What It Feels Like
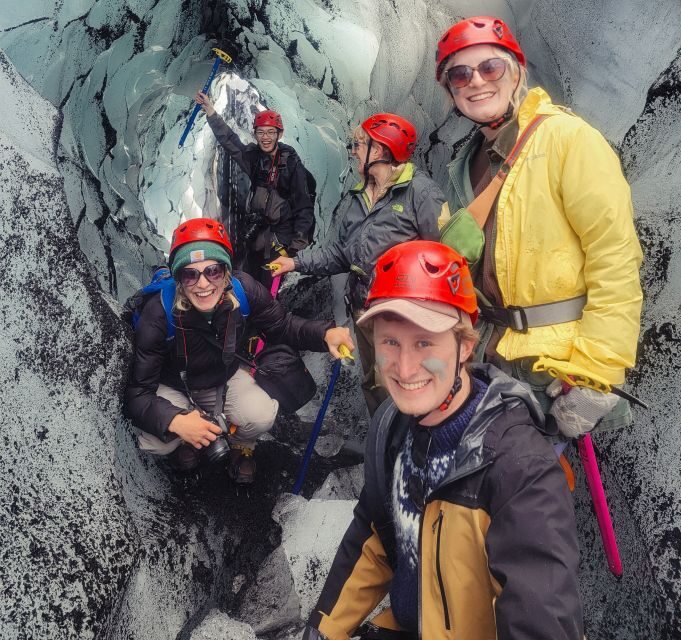
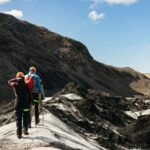
On the Sólheimajökull hike, the main thrill isn’t technical climbing. It’s being close to the “live” stuff: snow veined with black ash, ice that looks glassy and jagged at the same time, and that surreal sense that the ground is moving slowly under you.
The tour runs about 3 hours, which is a sweet spot. Long enough to feel like you actually did something on a glacier, short enough that you’re not exhausted at the end—just impressed (and slightly cold). If you’re basing yourself in Vik, this is also a practical way to add “glacier day” without losing half your vacation.
I also like that this hike isn’t framed as a stunt. It’s framed as a guided walk with safety gear and route knowledge—so you spend your energy looking around, not worrying about where your feet go.
You can also read our reviews of more guided tours in Vik
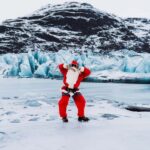
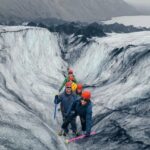
From Parking Lot to Crampons: Getting Ready the Right Way
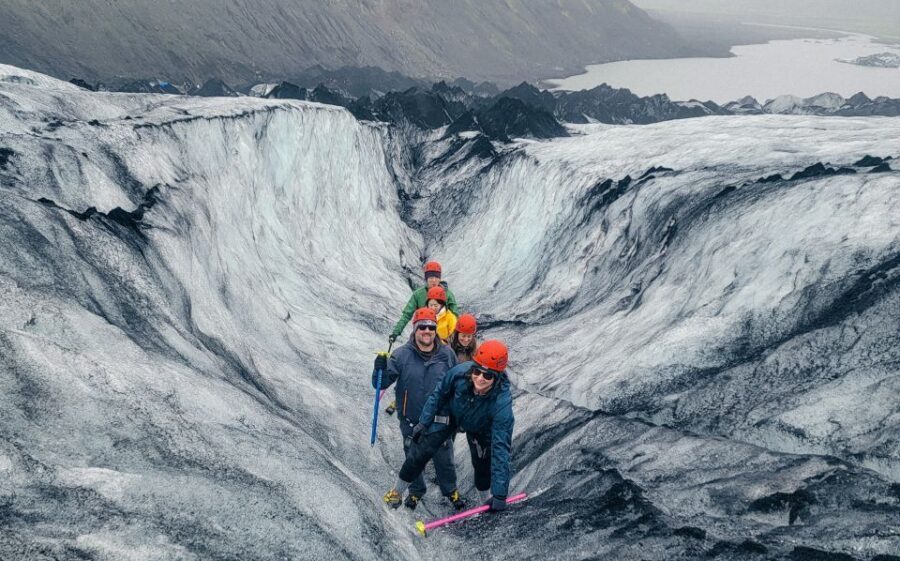
Everything starts at the Solheimajökull Glacier parking lot, about 20 meters off Ring Road (Highway 1) near Vik. Your guide will have the David the Guide logo on their gear, and you’ll want to arrive at least 20 minutes early so you’re not rushing through the setup.
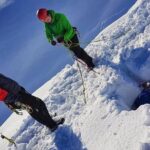
Before anyone steps onto ice, you’ll get fitted with the essentials:
- Harness
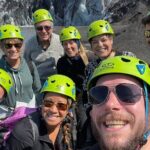
- Helmet
- Crampons
- Ice axe
This matters more than it sounds. Crampons only work well when they fit correctly, and a lot of bad glacier days start with sloppy gear. The tour is clear on the footwear point: you should bring hiking boots. Athletic sneakers may not fit the crampons properly, and the provider notes that boot rental isn’t automatically included—so if you’re traveling light, plan ahead.
Then comes the route briefing. Your guide explains how the ice hike will work, what to watch for, and how to move safely. Expect a steady, calm pace—multiple guides on past departures (names like Susanna, Önundur, Elias, Kamila, Jon, Agnieszka, and Norbert show up in the guide roster) are described as patient and attentive with instructions and group comfort.
The Lagoon Edge: Where the Hike Starts Before It Gets Spectacular
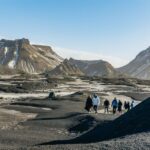
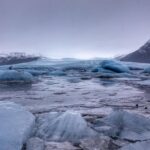
One of the smarter parts of the route is the warm-up walk. You’ll head around a murky glacier lagoon at the base before stepping onto the glacier’s snowy surface.
It’s not just a scenic detour. That start helps you:
- get your legs used to crampons,
- learn where your guide expects you to put your feet,
- and settle into the “glacier rhythm” before you’re higher on the ice.
The lagoon area also helps you notice how glaciers shape the ground. You’ll see ice and dark sediment together—an everyday clue that glaciers aren’t clean-white props. They’re active landscapes of melting, shifting, and erosion.
And yes, even here the color contrast is unreal: bright ice, darker mineral streaks, and that moody Iceland light that makes everything look cinematic.
Glacier Formations You Can Actually See Up Close
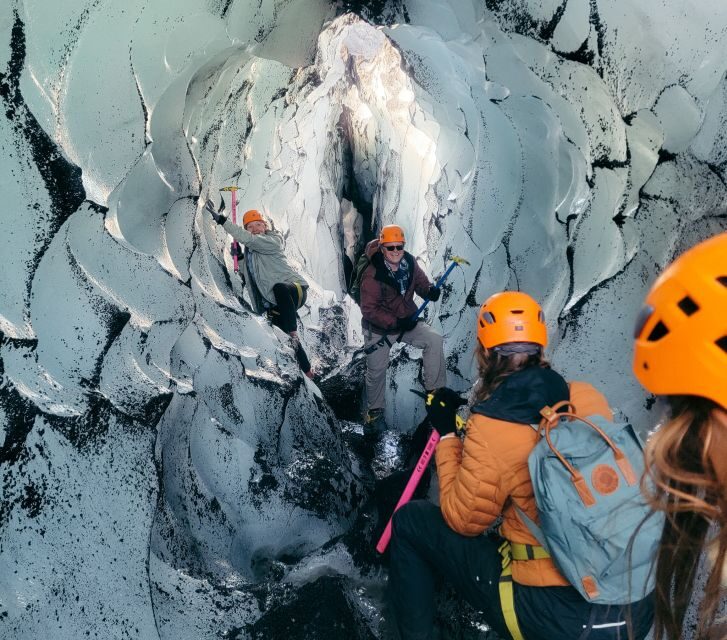
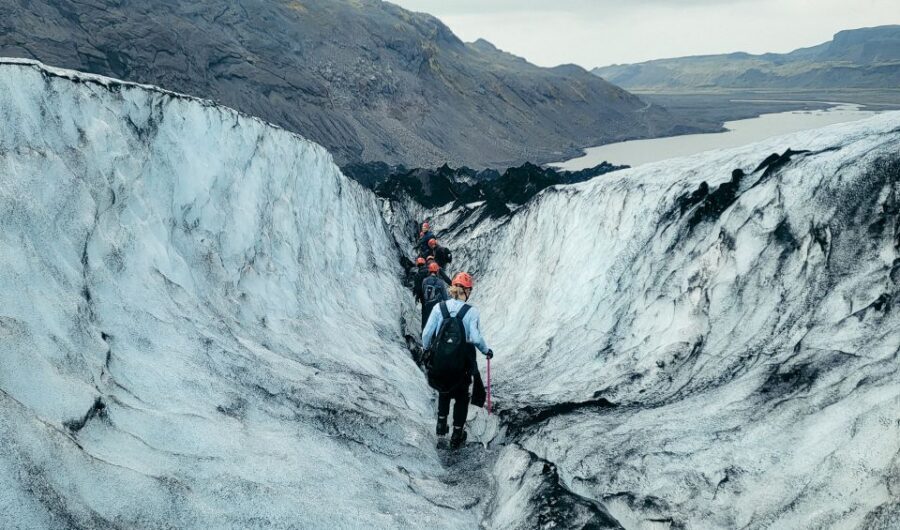
Once you’re on the main ice, the tour becomes all about what you came for: glacier scenery up close.
Here’s what you can reasonably expect during the walk:
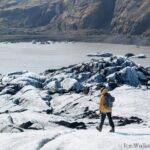
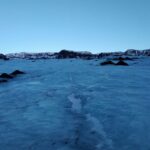
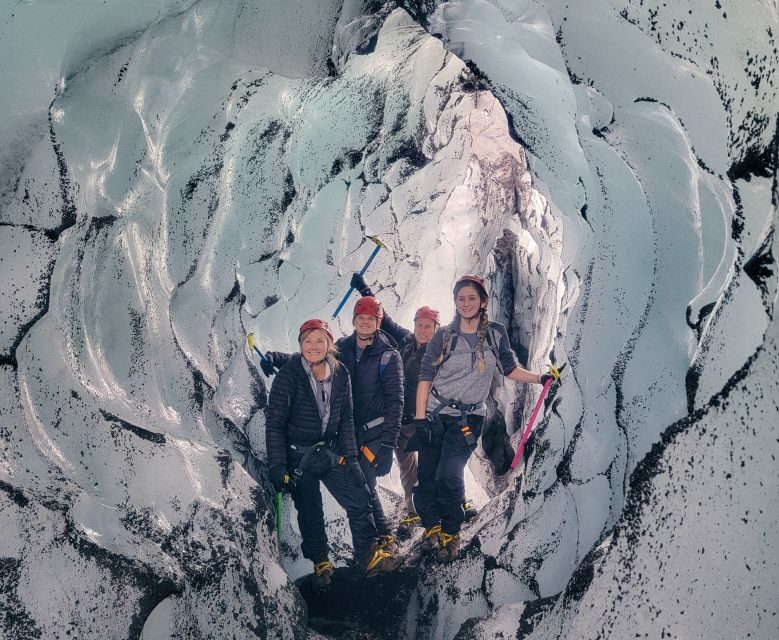
- Snow veined with black ash from past eruptions
- Glistening icicles and ice details that look too sharp to be real
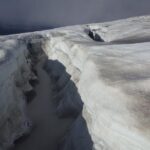
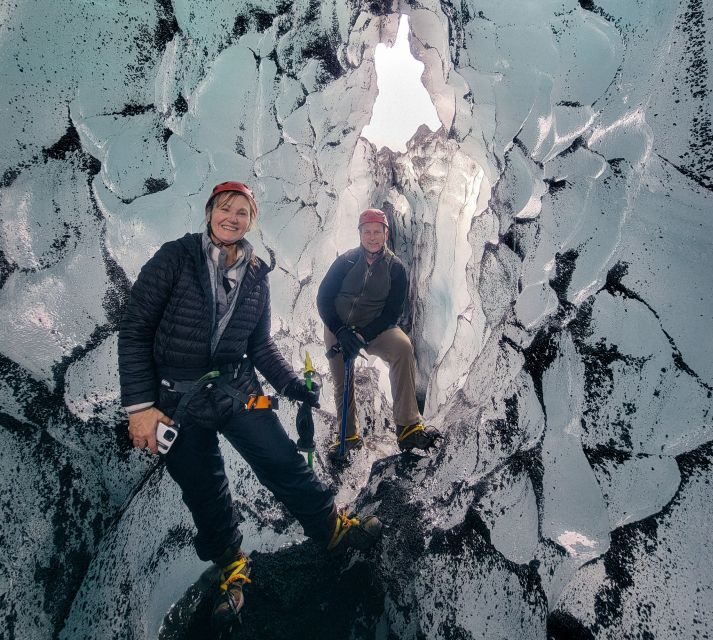
- Towering ice walls and jagged shapes that show how the glacier breaks and reforms
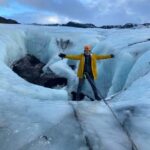
- Deep crevasse views from safe spots (not a “let’s climb into cracks” thing)
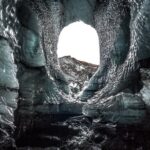
- Sometimes small ice cave access, depending on conditions and the route that day
A bunch of guides in past departures have leaned into the “show and tell” style—taking time at photo stops and pointing out formation clues. That’s where glacier hiking becomes more than walking: you start to recognize why things look the way they do.
Your guide will also explain glacier basics: how glaciers form, why Iceland has so much of them, and what makes these ice caps vulnerable. This is one of the most meaningful parts of the experience, because it turns the scenery into context instead of just a photo background.
Photo Ops That Don’t Feel Like a Photoshoot
If you care about photography, this hike is set up well. The route includes multiple moments where the guide can pause you at the most photogenic spots—so you’re not sprinting to catch a shot.
What helps:
- The ice has constant texture changes, so backgrounds don’t get boring.
- The higher you go, the wide views grow, which gives you both close-up ice detail and big “where am I?” vistas.
- Guides are described as taking group photos, so you don’t have to keep doing the awkward stand-in-a-spot shuffle.
Bring practical photo instincts too. Crampons can make you move more deliberately, so plan for slower framing. Also, keep an eye on your gloves and camera handling; ice hikes are about cold comfort as much as the visuals.
You can also read our reviews of more hiking tours in Vik
The Views at the Top: Mountains, Westman Islands, Black Sands
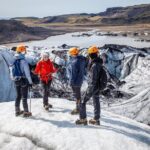
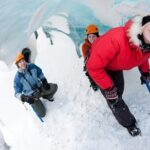
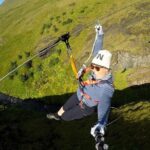
The hike is designed to build in altitude. The higher you ascend, the more dramatic the perspective becomes.
In clear weather, you might spot:
- dramatic mountains
- the Westman Islands
- the black sands of Iceland’s South Coast
- and lava landscapes
Even if visibility isn’t perfect, the glacier itself keeps delivering. You still get those striking blues in the ice, plus the sharp contrast between pale snow and darker volcanic ash.
I like that your guide connects these views to Iceland’s bigger story. You’ll hear how glaciers interact with the region, and why this area matters—not as a gimmick, but as a real part of Iceland’s climate system.
Drinking Glacier Water: A Small Stop With Big Personality
One of the tour highlights is simple: drink glacier water.
This is one of those travel moments that’s easy to laugh about right up until you’re standing there with meltwater and realizing how strange it is to be that close to something so powerful and ancient. The tour notes you can refill your bottle in pure freshwater streams as you hike.
Practical tip: bring a bottle you’re comfortable using in cold conditions. Nothing ruins the “cool moment” faster than a bottle that leaks because the cap doesn’t like the cold.
Pace, Safety, and the Kind of Guide You Want on Ice
This is where glacier hiking lives or dies: your guide.
The provider is David the Guide Iceland, and the guide roster varies by departure. Still, the common thread in the experience is clear—guides are praised for:
- calm instructions and safety focus,
- steady pacing you can manage without feeling rushed,
- and taking extra care when someone in the group is less confident on ice.
For example, one past participant with knee discomfort described how the guide encouraged them and even offered extra help on the way down. That tells me this tour isn’t “tough-love only.” It’s guided movement with real attention to group comfort.
Also, group size can vary. Some departures are described as small (like a group of 5), while others have been larger (one mention: 14 people in rainy conditions). If you care about quiet time on the ice, you’ll like the small-group feel—but even in bigger groups, the guide’s job is to keep you away from crowds on the glacier when possible.
What to Bring: Your Real Checklist for Glacier Comfort
The tour is equipment-heavy on purpose, but you still control a lot of the comfort factor.
At minimum:
- Hiking boots (required)
- Warm layers
- Waterproof outerwear
The tour data specifically calls out hiking shoes/boots, and notes that boots may need a rental if you don’t have them. From practical experience on this kind of hike in Iceland, you’ll also want clothes that can handle wet patches. Rain and damp ground can be part of the deal, and a change of socks can save the rest of your day.
Bring:
- a warm hat
- gloves
- sunglasses (ice glare is real when the light hits)
- a water bottle you can refill
And do yourself a favor: don’t overthink gear. If you dress warm, keep your feet stable, and follow the guide’s movement cues, the hike feels controlled and safe instead of stressful.
Price and Value: Why $120 Can Make Sense
At $120 per person for about 3 hours, this isn’t a “budget activity.” But it is value-for-money in the way that matters here: you’re paying for specialized glacier safety gear and trained guidance on terrain that’s hard to replicate on your own.
What you get for the price:
- Private guide and safety equipment (harness, helmet, crampons, ice axe)
- a route plan that gets you to ice features and viewpoints without guesswork
- instructions that turn “walking on ice” into “understanding what you’re seeing”
- time on glacier terrain long enough to feel the experience, not just a quick stop
If you tried this without a guide, you’d quickly run into the big problem: glacier hiking isn’t a normal hike. Getting boots and crampons right matters, and knowing where to step matters more.
So I see the price as paying for safety, access, and a stronger story. If you want a hands-on Iceland highlight and you’re okay with spending on an adventure you can’t really DIY, this price lands in the right zone.
Who Should Book This Hike on Sólheimajökull
This tour is a good fit if you want:
- a non-technical glacier hike
- big Iceland views in a short time
- hands-on gear setup with a professional guide
- glacier education mixed with real time on ice
It’s not suitable for:
- children under 8
- pregnant women
- people with mobility impairments
If you’re a first-time hiker, that’s fine. The tour is described as steady-paced and approachable, especially when you bring the right footwear and follow instructions. If you’re nervous, you’ll likely appreciate the calm guide style and the chance to learn safe movement step-by-step.
If you’re the type who loves photos, the stops are built for that. If you’re the type who loves learning, the glacier explanations and protection talk give the scenery meaning.
Should You Book This Sólheimajökull Glacier Hike?
Yes—if you meet the basic requirements and you want a real glacier experience. Book it when you can:
- wear proper hiking boots and move comfortably for a few hours in cold conditions,
- show up early so gear fitting is smooth,
- and stay flexible with weather, since clear views are the bonus, not the guarantee.
Skip it if you can’t handle the mobility demands of stepping on ice safely, if you’re traveling without suitable boots and don’t have a plan to fix that, or if the idea of crampons sounds like a deal-breaker.
If those boxes work for you, this hike is one of the best “short Iceland” adventures near Vik—part science lesson, part otherworldly walk, and part photo time you’ll actually remember when the photos are long done.
FAQ
How long is the guided glacier hike on Sólheimajökull?
The tour lasts 3 hours.
How much does it cost?
The price is $120 per person.
Where do I meet the guide?
Meet in the parking lot at Solheimajökull Glacier, about 20 m off Ring Road (Highway 1) near Vik. The guide will have the David the Guide logo on their gear.
What’s included in the price?
A private guide and safety equipment are provided.
What should I bring?
You should bring hiking boots. The tour notes hiking shoes may not fit the crampons properly, and it says you should contact the provider if you need boot rental.
What should I wear in terms of shoes?
Hiking boots are required. If you don’t have them, contact the provider about rental options.
Is the tour suitable for children, pregnancy, or mobility needs?
It’s not suitable for children under 8, for pregnant women, or for people with mobility impairments.
Is transportation included?
No. Transportation to the meeting location is not included, and snacks and beverages aren’t included either.