REVIEW · VIK
Private Extreme Encounter w/ ropes on Sólheimajökull Glacier
Book on Viator →Operated by The Odyssey · Bookable on Viator
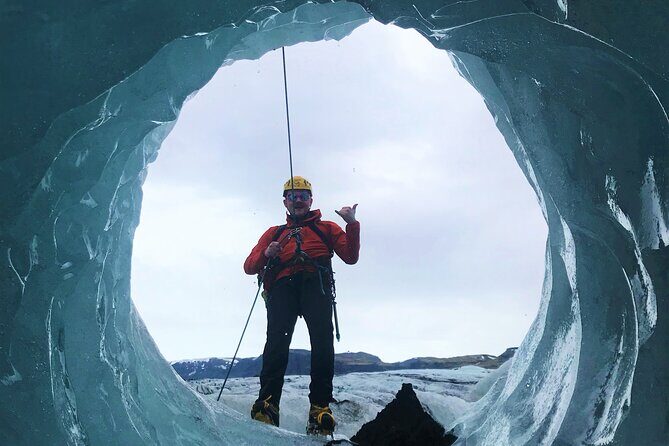
Ropes, ice, and total trust start fast. This private Sólheimajökull adventure is built around real glacier technique, with a certified guide who can shift the route from tame to adrenaline. I love how hands-on it is, not just sightseeing, and how the guide keeps you safe while still letting you do the fun stuff like abseiling and exploring crevasses.
One drawback to plan for: the glacier environment can be rough. Wind and precipitation are part of Iceland, and you’ll want to dress like you mean it, not like you’re going for photos.
A standout moment is watching you go from unsure to confident. Lucas, the guide name I saw come up in great detail, is the kind who earns trust quickly, so you’ll actually follow his lead on the rope work. The glacier time also feels personal because it’s just you and your close ones, with pacing matched to your fitness and comfort level. The main consideration is weather: this is an outdoor activity that depends on good conditions.
In This Review
- Key Things I’d Remember Before You Go
- Why Sólheimajökull Ropes Tours Feel Different Near Vik
- A 4–5 Hour Private Session: What You Actually Do Out There
- Gear You Get (and How It Affects Your Comfort)
- Learning Glacier Technique: Abseil, Ice Climbing, and Fixed Lines
- Abseil (Rappelling Down)
- Ice Climbing Elements
- Traversing With Fixed Lines (When Needed)
- The Glacier Stops That Make It Feel Like More Than a Tour
- Walking the Deep-Creavasse Zones
- Ice Cave and Tunnel-Style Sections
- Photo Stops Done Your Way
- Difficulty Levels: How the Guide Can Tune This From Easy to Extreme
- Safety Style: What Included Gear and Private Instruction Really Mean
- Weather, Timing, and What to Wear So You Don’t Feel Miserable
- Value Check: Is $325 Worth a Private Ropes-on-Ice Adventure?
- Who This Tour Fits Best (and Who Should Think Twice)
- Should You Book This Sólheimajökull Ropes Encounter?
- FAQ
- Where does the private tour start?
- How long is the tour?
- How much does the tour cost?
- Is this a private experience?
- What activities are included on the glacier?
- What safety gear is provided?
- What should I bring?
- Do I need to have glacier experience?
- Is the tour weather dependent?
- What is the cancellation window?
Key Things I’d Remember Before You Go
- Private group pacing: your hike speed and rope practice match your group’s ability and confidence.
- Certified guide instruction: you learn how to use crampons, harnesses, helmets, and ice axes, not just wear them.
- Real rope systems: the tour includes technical movement like abseil and possibly traversing fixed lines.
- Crevasse and ice feature time: expect deep crevasse exploration and ice-cave or tunnel-style sections when conditions allow.
- Difficulty can flex: the guide adapts what you do so it can feel extreme or more controlled.
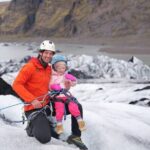
- Safety gear included: crampons, harness, helmet, ice axe, and poles are provided for you.
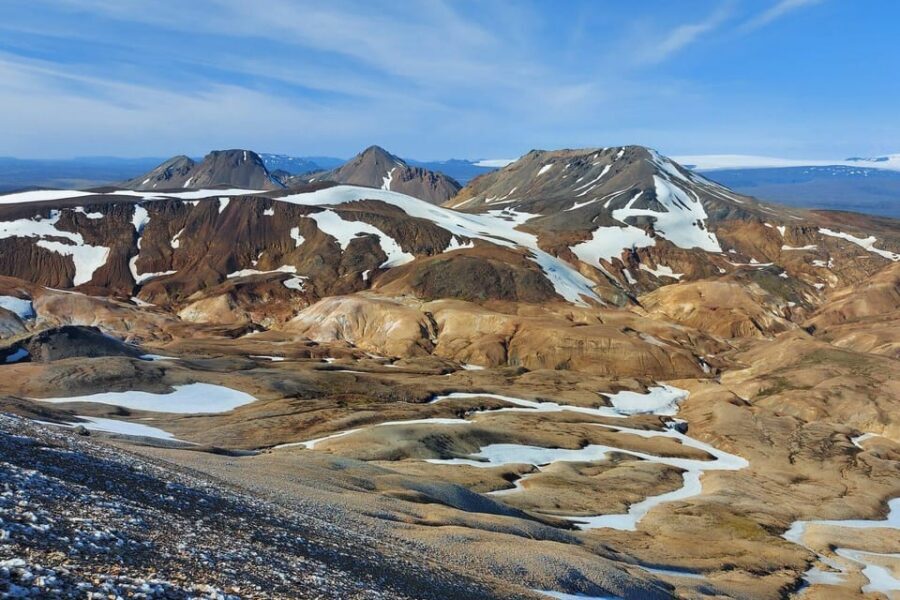
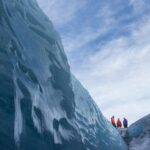
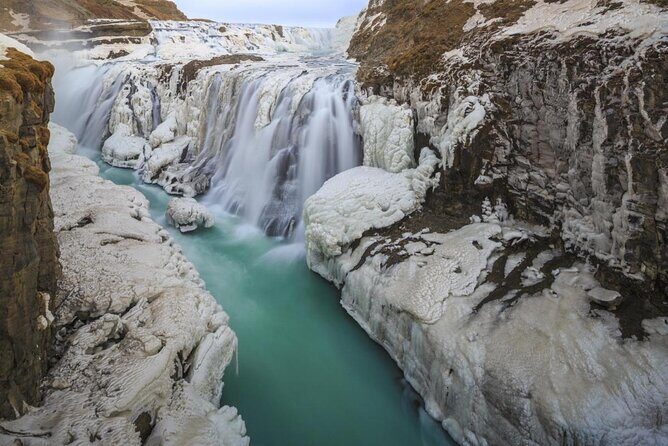
Why Sólheimajökull Ropes Tours Feel Different Near Vik
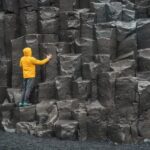
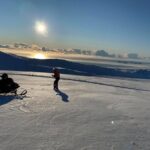
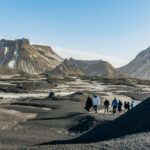
If you’ve only seen glaciers from viewpoints, this tour changes the scale fast. Sólheimajökull sits near Vik, and it’s dramatic in a way that feels almost unreal until you’re walking on it and hearing the ice under your boots. It’s not smooth and scenic like a postcard. It’s textured, uneven, and alive with cracks that matter.
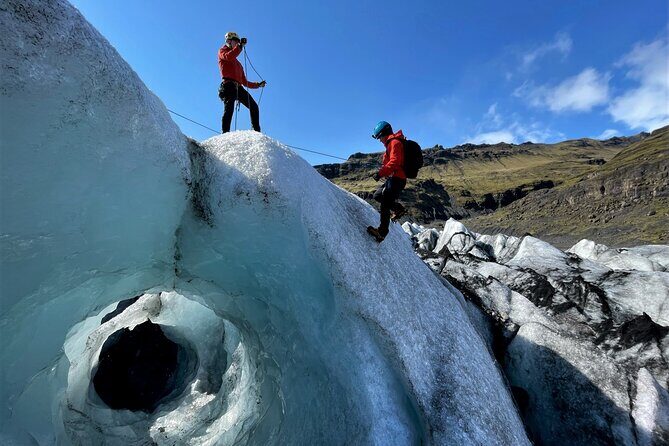
This is also why the ropes approach works so well here. Instead of treating the glacier like a trail, the guide treats it like what it is: a working climbing and movement environment. You’ll learn how to move with traction (crampons), how to control your body with an ice axe, and how to connect yourself to safety with harness and ropes.
And because it’s private, you don’t spend your time waiting for a group. You get instruction, practice, and then movement—at a pace that fits your group. That matters on a glacier. Your brain needs time to absorb technique, and your legs need time to settle into the rhythm.
You can also read our reviews of more private tours in Vik
A 4–5 Hour Private Session: What You Actually Do Out There
The tour runs about 5 hours (roughly 4–5), and it’s built for meaningful time on the ice, not a quick walk and scramble. You start at the Sólheimajökull glacier parking lot (221, 871, Iceland) and return there at the end.
What happens inside that half day is a mix of training and exploration:
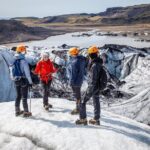
- You begin with instruction on glacier safety and gear use. This is where the guide shows you how crampons, harnesses, helmets, and ice tools fit into safe movement.
- You then move into the technical part—rope work and controlled descent or traversal options.
- Along the way, you explore the ice itself: deep crevasses and glacier features, sized and chosen based on what your group can handle.
- The final portion is returning on a route that makes sense for your chosen difficulty and the day’s conditions.
The “extreme” part isn’t just marketing. You’re on a glacier in a way that includes technical progression—like abseiling down, ice climbing elements, or moving using fixed lines when appropriate. But the guide can adjust the intensity so it still feels like your adventure, not someone else’s test.
Gear You Get (and How It Affects Your Comfort)
One of the best value pieces here is that the tour provides the safety gear: crampons, harnesses, helmets, ice axes, and hiking poles. That means you can travel lighter and spend your money on Iceland experiences that don’t require buying specialized gear you’ll never use again.
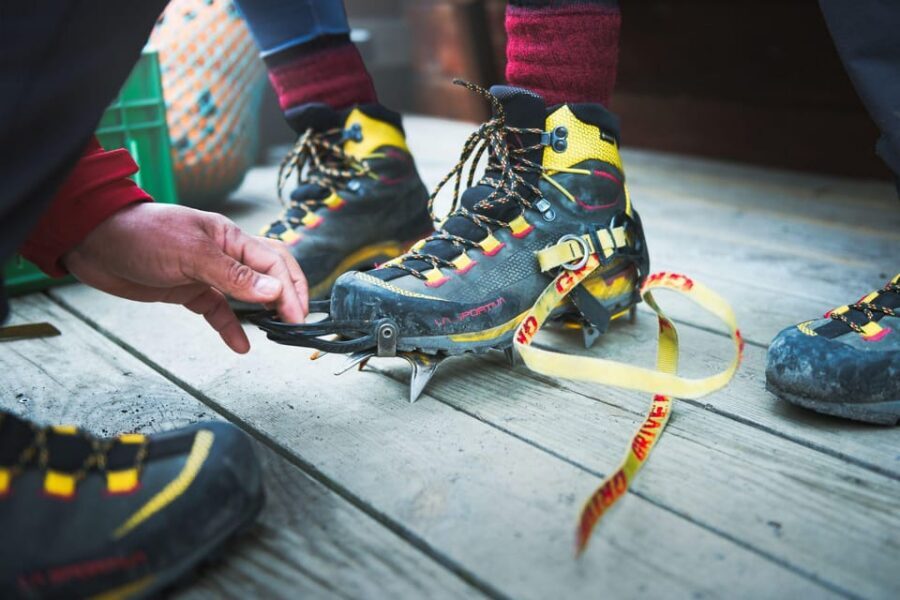
Still, there’s gear you should bring, and it really affects how much you enjoy the time:
- Worn-in hiking boots (important for comfort and stability on uneven ice)
- Gloves
- Insulating waterproof layers
Iceland can be windy, and the glacier can feel colder than you expect, especially when you’re stationary during instruction. Layering keeps you warmer and helps you focus on technique instead of coping with discomfort.
Also, if you’re thinking about footwear: choose boots you’ve already walked in. New boots are a fast route to pain, and pain makes it harder to learn rope and climbing basics. On a glacier, you want your body relaxed and ready to move.
Learning Glacier Technique: Abseil, Ice Climbing, and Fixed Lines
This tour is all about learning to use technical equipment on real ice, with a guide who teaches you how it works in practice. In many glacier tours, you might hear instructions and then follow. Here, you get actual coaching so you understand what you’re doing.
Here are the main technical activities you should expect to talk through and practice:
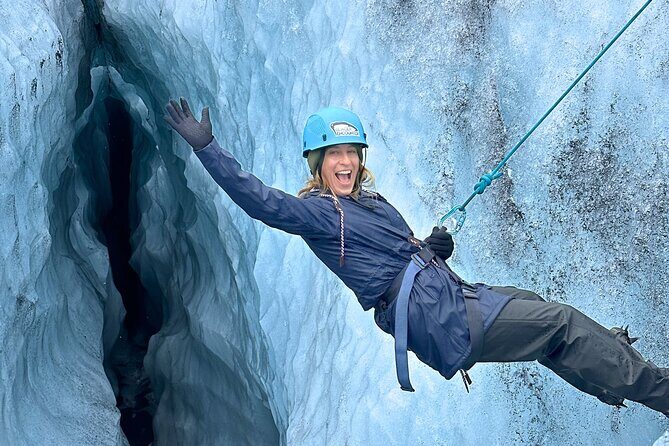
Abseil (Rappelling Down)
You may be guided down using ropes. This typically involves controlled descent with harness and rope management. The guide’s job is to help you feel stable, set your mindset, and keep your body position right so you don’t rush.

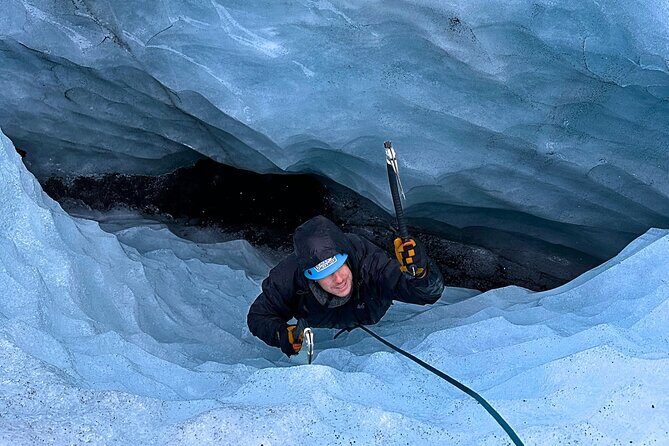
Ice Climbing Elements
You might do basic ice-climbing movements depending on your level. If you have little or no experience, that’s not automatically a dealbreaker. The key is whether you’re willing to learn and follow.
Traversing With Fixed Lines (When Needed)
There can be sections where ropes and fixed lines help you move across or through more technical terrain. This is where having a private group helps a lot. The guide can slow down, reset, and make sure you’re comfortable before you move on.
The vibe that stands out from the best parts of the experience is trust built quickly. Guides like Lucas (name mentioned in standout stories) are described as knowledgeable and quick to help people feel safe, even when the activity is far outside typical comfort zones. That’s the difference between watching someone else do something and actually doing it yourself.
The Glacier Stops That Make It Feel Like More Than a Tour
The glacier time isn’t only about hitting adrenaline. It’s about seeing the ice up close and understanding why it’s mesmerizing and unpredictable.
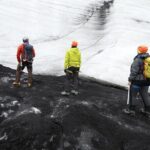
Walking the Deep-Creavasse Zones
Crevasses are part of the glacier’s reality, and the guide uses your skill level to decide where you go and how you approach them. You might explore deep crevasses in a controlled way, which gives you that rare feeling of seeing the glacier as a system of tunnels, gaps, and ice walls—not just a surface.
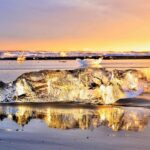
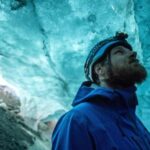
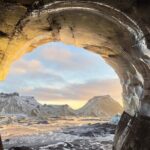
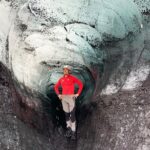
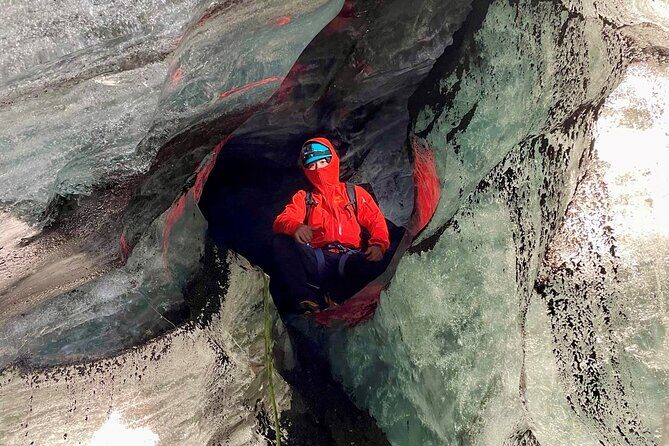
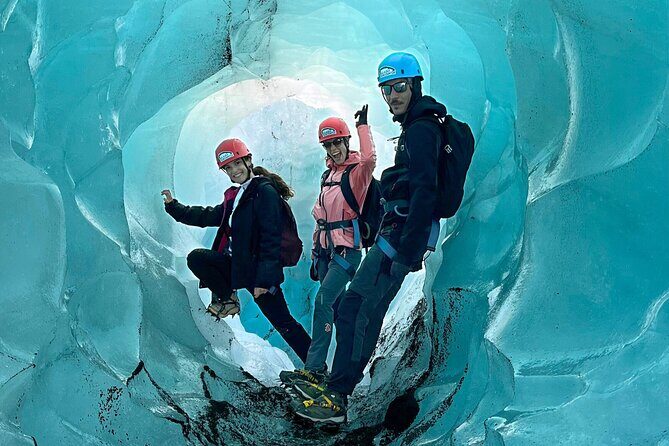
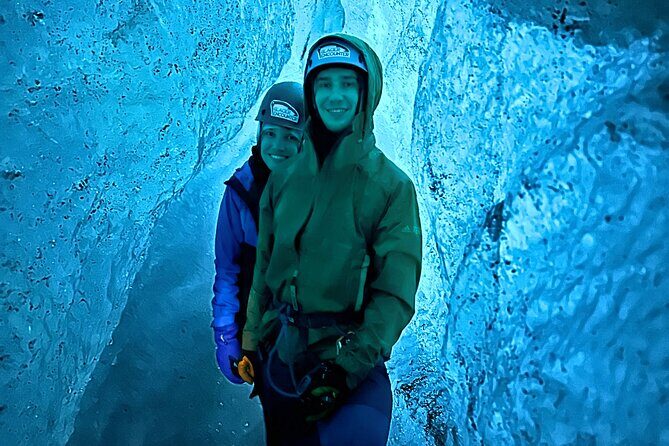
Ice Cave and Tunnel-Style Sections
On the best days, you can see ice features like an ice cave or a tunnel of ice. These spots tend to be cold, echoing, and visually striking in a way photos often can’t fully capture. The texture of ice—blue tones, sharp edges, and the way light moves—becomes part of your memory.
Photo Stops Done Your Way
This isn’t a “move fast, no photos” situation. Your guide will stop to take photos as you want. That matters because you’ll see things worth pausing for, and you don’t want to be rushed while you’re still learning the gear and footing.
Difficulty Levels: How the Guide Can Tune This From Easy to Extreme
This is one of the most valuable parts of the experience: it can be adjusted. The tour can be extremely challenging or easier enough that you still get the real glacier experience without getting overwhelmed.
Practically, what “adapted difficulty” usually means on a glacier:
- You choose a comfort level that the guide uses to plan the technical sections.
- The guide adjusts how intense the rope work and ice-climbing elements feel.
- The pace of movement across the glacier matches your group’s fitness and ability.
So if you’re an active person ready for a workout and technical movement, you’ll likely get more edge. If you’re nervous, the guide can still get you on the ice and into the experience, just with more control and more time to build confidence.
This flexible approach is also why private matters. In a group setting, everyone’s ability can force compromises. Here, your guide can make the day about your specific learning and comfort.
Safety Style: What Included Gear and Private Instruction Really Mean
Safety here isn’t just “we brought helmets.” It’s a full system: harnesses, helmets, ropes, and glacier technique taught on the spot. The tour emphasizes instruction, and the guide’s role is to teach you how to use the technical gear, not just hand it to you.
I like this kind of safety approach because it turns nerves into understanding. When you know why you’re wearing something and how it helps, you stop feeling like you’re being handled and start feeling like you’re participating.
Also, private gives the guide space to do the extra checks that matter—like how you clip in, how you handle your footing, and how you respond when the glacier surface changes.
Bottom line: you should go in expecting to follow guidance closely, ask questions quickly, and let the guide pace the technical steps. If you do that, the safety setup feels empowering instead of restrictive.
Weather, Timing, and What to Wear So You Don’t Feel Miserable
Glaciers don’t do “mild inconvenience.” The wind and precipitation can hit without warning, and even a short time on ice can feel colder than the temperature suggests.
Plan on:
- Waterproof outer layers
- Insulating warmth under that
- Gloves you’re comfortable wearing for long stretches
- Worn-in boots
- A calm mindset for changing conditions
You should also expect the day to run based on weather quality. If conditions aren’t right, the experience may be offered on a different date or you may be refunded. That’s not a failure mode; it’s the system working. Glacier safety depends on conditions.
If you tend to feel cold quickly, dress warmer than you think you need. If you tend to sweat, dress in a way you can vent by adjusting layers while staying waterproof. The goal is warm feet, stable footing, and hands that can grip equipment confidently.
Value Check: Is $325 Worth a Private Ropes-on-Ice Adventure?
At $325, this isn’t a casual add-on. It’s a specialized private glacier experience, and the value comes from several things you can’t really replace cheaply:
- Private time: you get your guide’s full attention instead of sharing instruction.
- Certified glacier guidance: technical rope and glacier coaching takes skill and responsibility.
- Included safety equipment: crampons, harness, helmet, ice axe, and poles are provided.
- Meaningful duration: around 5 hours on the glacier gives time for both learning and doing.
- Adaptive difficulty: the guide shapes the day around your level, so you’re not stuck with a one-size route.
If what you want is a quick glacier walk, you can find cheaper options. But if you want to do the “on the ice and actually moving” part—abseil, ice climbing elements, crevasse exploration, possibly fixed lines—then you’re paying for expertise, gear, and real time on the ice.
To me, this price makes sense if you care about more than views. It’s about learning technique and walking away with a glacier story that feels lived, not observed.
Who This Tour Fits Best (and Who Should Think Twice)
This is described as suitable for most travelers, and it’s designed to be adjusted to your level. That said, it’s still a technical glacier activity. It’s best for people who can follow instructions and are excited to try something different.
You’ll likely love this if you:
- Want a private experience with pacing matched to you
- Are open to rope work and learning glacier movement
- Like hands-on adventures over passive sightseeing
- Enjoy a mix of adrenaline and education
You might want to reconsider if you’re:
- Not comfortable with cold/wet conditions and dressing for them
- Unwilling to follow safety routines closely
- Expect a simple stroll with no technical elements
If you’ve got zero interest in climbing-type movement or rope systems, you’ll still be on a glacier, but your enjoyment may depend heavily on the difficulty setting your guide chooses.
Should You Book This Sólheimajökull Ropes Encounter?
My vote: book it if your idea of Iceland is not just driving, waterfalls, and photos. This is one of those experiences where technique turns into confidence. With the guide’s rope instruction and the included gear, you get to do things on the glacier you normally only see from far away.
The strongest reasons to go are simple:
- Private, personalized coaching
- Technical glacier movement you can actually participate in
- Safety built into the day with proper equipment and guide instruction
Just go prepared. Bring worn-in boots, warm waterproof layers, and gloves. Show up ready to listen, move, and adapt when the glacier throws a curveball—because it will.
If that sounds like your kind of trip, Sólheimajökull will deliver a memory that sticks for years.
FAQ
Where does the private tour start?
It starts at the Sólheimajökull glacier parking lot (221, 871, Iceland), and the activity ends back at the meeting point.
How long is the tour?
The tour lasts approximately 5 hours (about 4–5 hours).
How much does the tour cost?
The price is $325.
Is this a private experience?
Yes. It’s a private tour, only you and your close ones.
What activities are included on the glacier?
Depending on your chosen level and conditions, you can expect rope-based glacier activities such as abseiling/rappelling, ice climbing, and exploring deep crevasses.
What safety gear is provided?
The tour provides crampons, harnesses, helmets, ice axes, and hiking poles.
What should I bring?
You’re encouraged to bring worn-in hiking boots, gloves, and insulating and waterproof layers.
Do I need to have glacier experience?
Most travelers can participate, and the guide can adapt the difficulty to your level, including helping with basics if you have little experience.
Is the tour weather dependent?
Yes. It requires good weather. If it’s canceled due to poor weather, you’ll be offered a different date or a full refund.
What is the cancellation window?
Free cancellation is available up to 24 hours in advance for a full refund. Canceling less than 24 hours before the start time is not refunded.