REVIEW · SKAFTAFELL
Skaftafell: Extra Small Group Glacier Adventure
Book on GetYourGuide →Operated by Melrakki Adventures · Bookable on GetYourGuide
Ice under your feet is different.
This Skaftafell glacier adventure takes you to Falljökull (an outlet glacier feeding from Vatnajökull) and pushes past the usual, more crowded entry points. I like that the tour is built around safety and teaching: you get crampon fitting and glacier rules right at the edge. I also love the small group feel, capped at 8 participants, so the guide can keep eyes on footing and still talk geology as you hike. The main drawback to consider is effort: it’s moderate difficulty and you need to comfortably walk 6 km over uneven terrain with about 250 m of elevation gain.
The tour also feels more like a real glacier experience than a quick photo stop.
You climb to the base of the outlet glacier, hike through changing ice terrain, pause briefly for a lunch break at the highest safely accessible point, then head back down to the meeting vehicle. One thing to plan for: you may get cold hands, wet gear, and sore feet if you’re not prepared with warm layers and good footwear, especially since crampons can cause blisters for some people without thick socks.
In This Review
- Key Moments You’ll Remember on This Falljökull Walk
- Why Falljökull From Skaftafell Feels Like the Real Deal
- Small Group Energy: 8 People Makes a Difference on Ice
- The 4×4 Transfer: Short Ride, Big Change in Scenery
- Arriving at Falljökull: The Crampon and Safety Moment
- Walking Deeper: What the Guide Teaches on the Ice
- The Climb, the Higher Views, and the Lunch Break
- It’s Not Just Photos: The Glacier Walk Teaches You How to Look
- What to Pack for Comfort (and Fewer Blisters)
- Price and Value: Is $199 Worth It?
- Who This Tour Is Perfect For (and Who Should Skip It)
- Should You Book This Skaftafell Extra Small Group Glacier Adventure?
- FAQ
- FAQ
- How long is the Skaftafell glacier adventure?
- What’s included in the price?
- Do I need to rent hiking boots?
- How many people are in the group?
- Is this tour suitable for children?
- What fitness level do I need?
- What happens if weather is dangerous?
Key Moments You’ll Remember on This Falljökull Walk
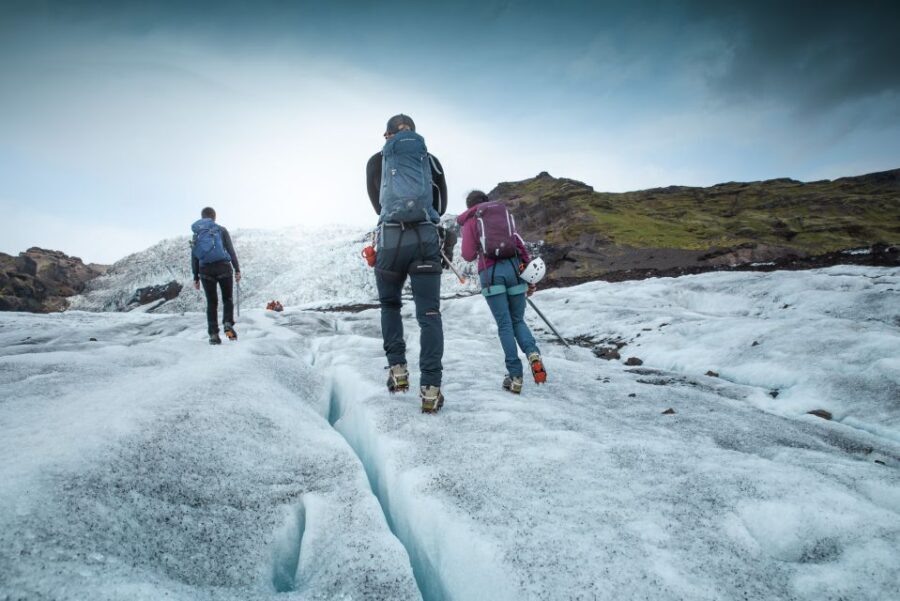
- Small-group access (8 max) so you can go farther into less-crowded glacier areas
- Certified glacier guide who explains what shapes the ice and how to move safely
- Crampon fitting and safety briefing before you step onto the glacier
- Modified Land Rover Defender / 4×4 transfer that gets you to the glacier quicker
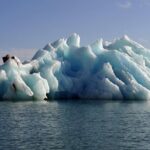
- Ice formations up high with chances to spot fissures, waterfalls, and even a small ice cave
- A short lunch break on the glacier before the descent
Why Falljökull From Skaftafell Feels Like the Real Deal
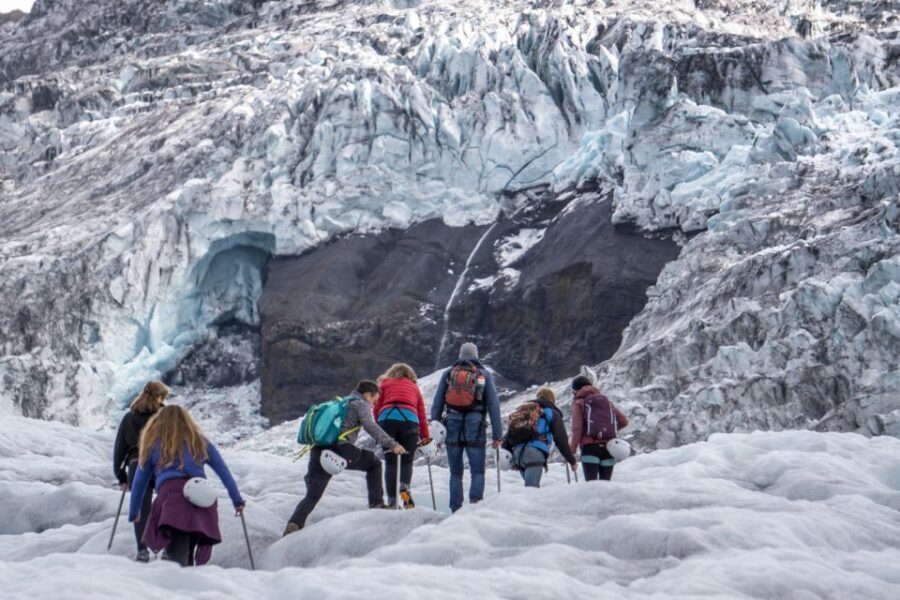
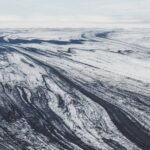
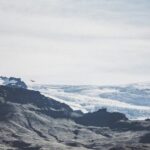
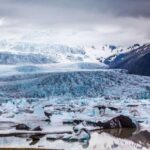
Skaftafell is already famous for glacier views, but this tour aims at something specific: getting you onto Falljökull and taking the group into the more adventurous, less crowded parts. Falljökull is an outlet glacier from Vatnajökull, which helps explain the scene you’ll see. Instead of a static “ice wall,” you’re walking on a moving system that’s always changing, shaped by gravity, meltwater, and pressure over time.
What I like is that the experience isn’t only about being on ice. The guide keeps connecting your steps to what’s happening inside the glacier: how the ice forms, how cracks and channels can appear, and why some areas are better for safe walking than others. If you’ve ever felt like a glacier tour was just a tripod session, this one leans harder into the hike and the learning.
You can also read our reviews of more tours and experiences in Skaftafell.
Small Group Energy: 8 People Makes a Difference on Ice
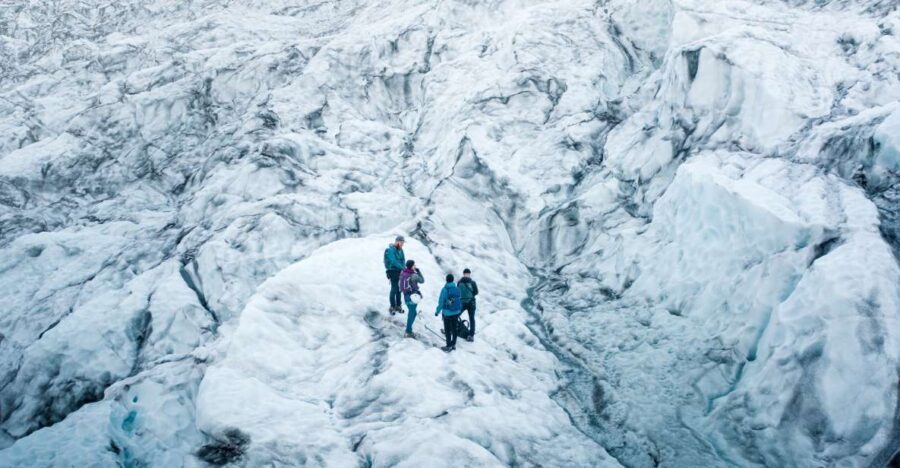
This is limited to 8 participants, and that matters more on a glacier than it does on most day trips. On ice, everyone’s pace and footing affects the group flow. With fewer people, the guide can slow down for instruction, stop at the right spots for photos and explanations, and adjust route choice based on conditions.
The best part is how that translates into your comfort. You’re not just watching a leader disappear down the ice. You’re part of a line that stays together, with the guide managing spacing and footing. It also helps you actually hear the glacier story instead of half-catching it through wind and distance.
A second safety advantage: when you’re changing surfaces or moving to a new section of ice, the guide can check who’s steady with crampons before moving on. That’s exactly the kind of practical attention you want when the ground underfoot is thick, cold, and unforgiving.
The 4×4 Transfer: Short Ride, Big Change in Scenery
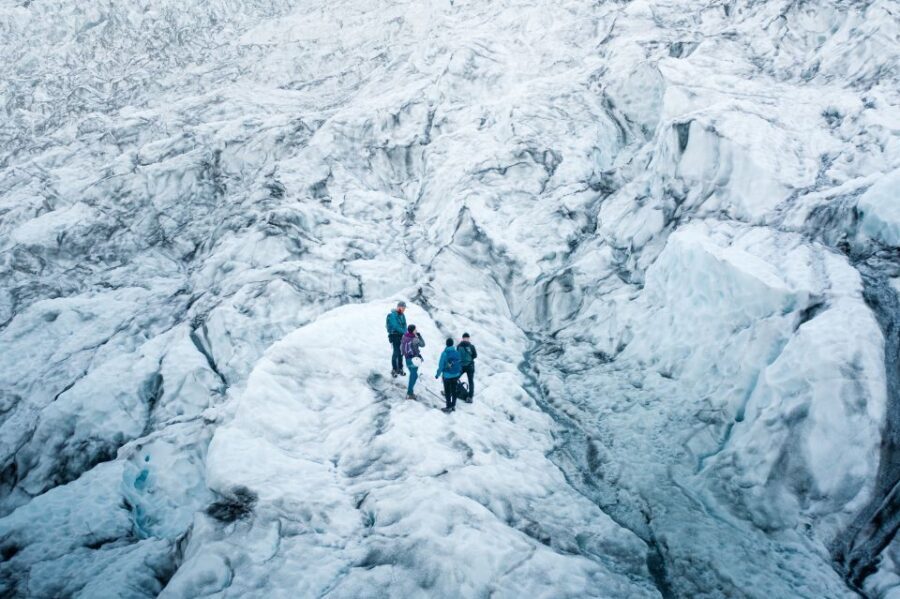
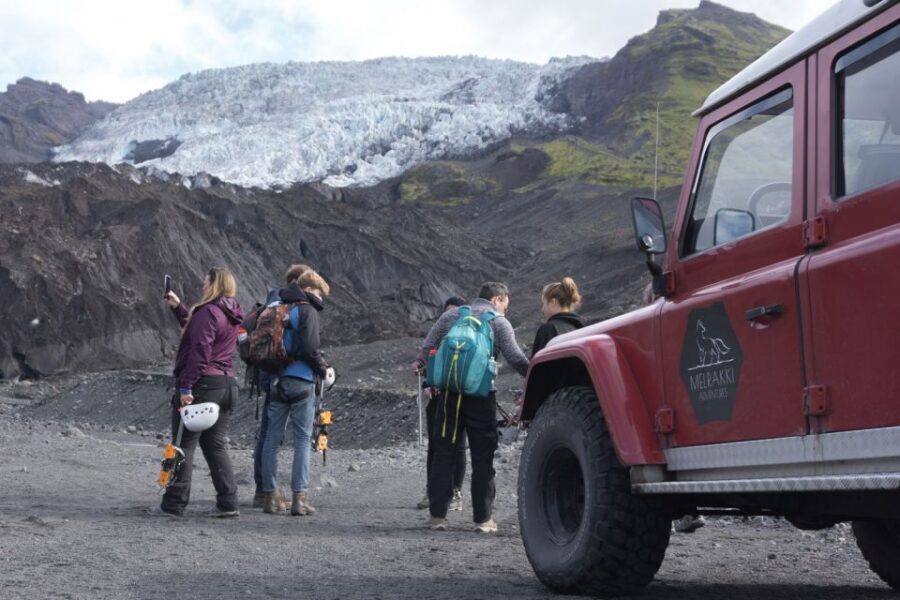
You start at the Skaftafell Terminal Tour Center (Skaftafell Airport), right outside the National Park area. Plan to arrive 10 minutes early so you can meet the group without rushing. Then it’s a quick 15-minute 4×4 drive to Falljökull.
That short ride is more than a convenience. It gets you into position to begin the glacier portion at the right place for a safe walk. It also keeps the whole day tight: roughly 3.5 hours on the glacier, then you’re back in the vehicle for the return.
If you dislike long, bouncing transfers in Iceland weather, this tour is mercifully short. If you love the classic Iceland road-to-wilderness feeling, you still get the modified Land Rover Defender vibe without sacrificing glacier time.
Arriving at Falljökull: The Crampon and Safety Moment
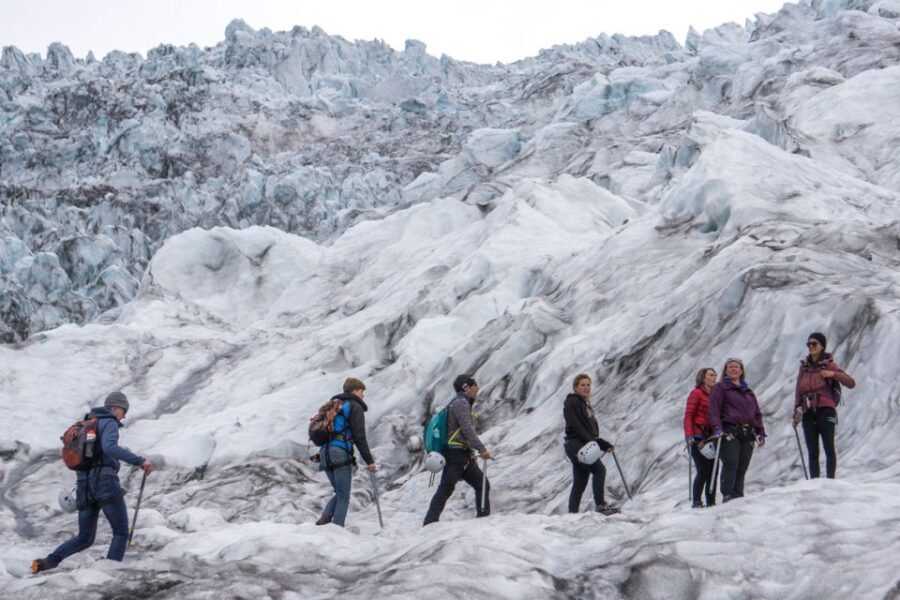
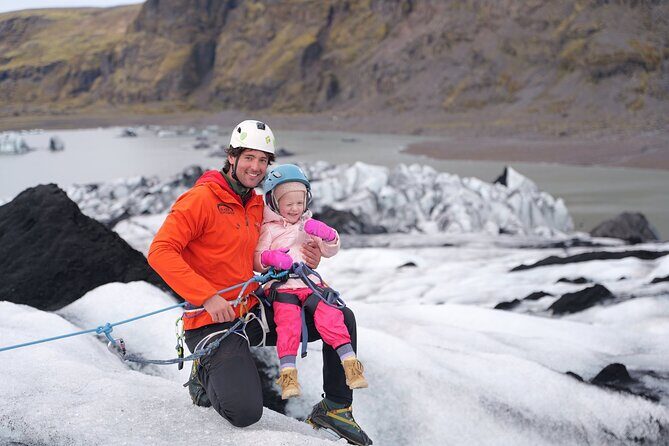
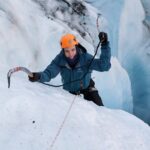
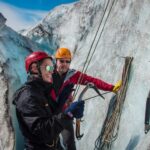
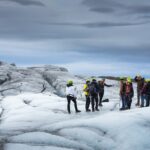
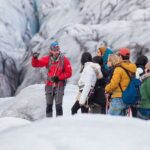
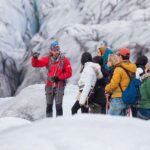
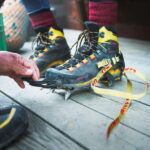
Once you reach the edge of Falljökull, the tour shifts gears from scenic travel to technical walking. Your guide shows you how to put on crampons and explains the glacier safety guidelines before you go further.
This is the part I’d call non-negotiable. Crampons change how you move. With them, you’re not just “walking carefully,” you’re learning how to step in a way that keeps traction. On glacier tours, people often underestimate how quickly poor technique can lead to fatigue or slips. Here, the guide starts you with the fundamentals so you can focus on the fun parts: the ice and the views.
One real-world tip pulled from past guests: crampons can cause blisters if you don’t wear thick socks. So bring thick, warm socks and consider layers that keep your feet comfortable even if you sweat slightly on the climb.
Walking Deeper: What the Guide Teaches on the Ice
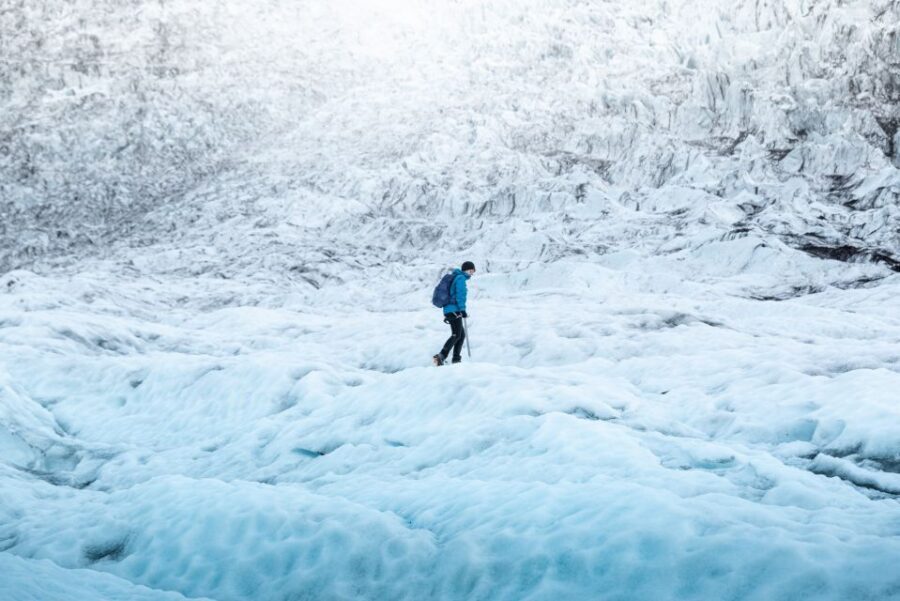
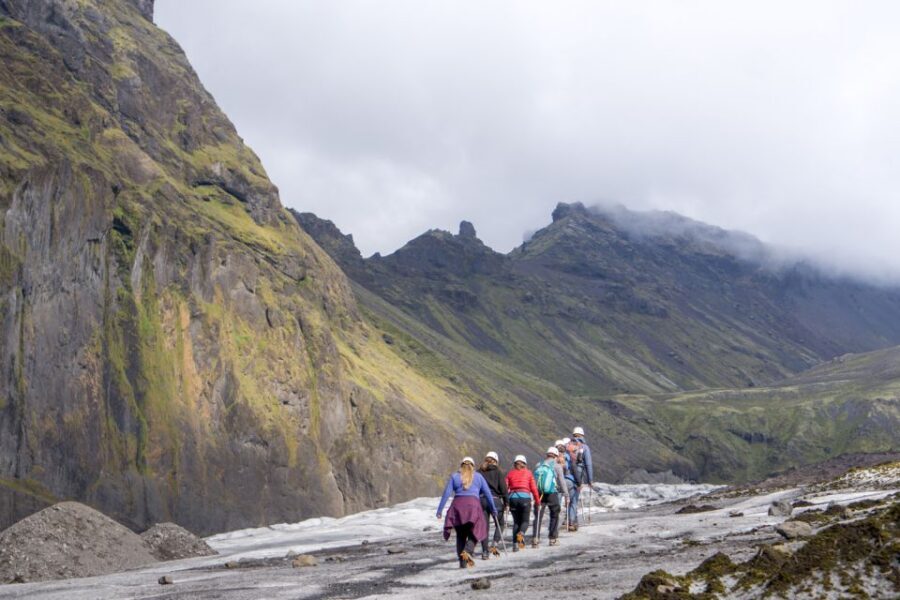
After the briefing, your glacier adventure starts in earnest. You’ll travel safely through the initial glacier section, then move toward a quieter, less-explored area. The route choice depends on conditions and what’s safely accessible, which is why the guide matters so much.
Here’s what you can expect to see while you’re walking:
- Ice formations that look different at various angles and elevations
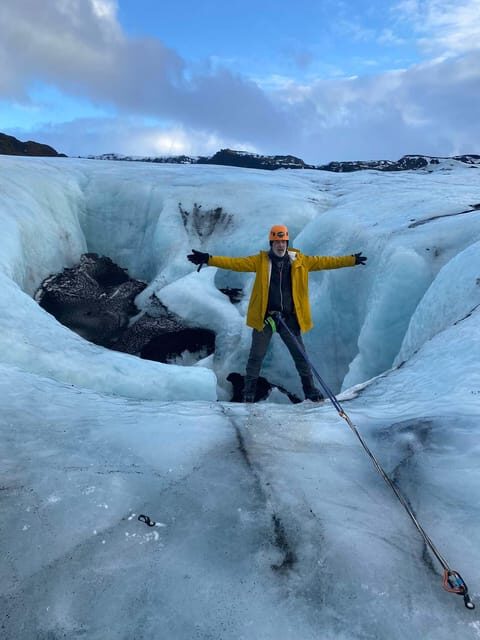
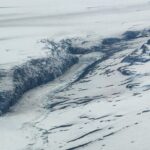
- Fissures and cracks that help explain how ice breaks under stress
- Water movement features, like small flows that can appear in certain spots
Past guides have been especially good at making this feel visual and understandable. Some guides (like José and José’s fellow guides) have pointed out features like fissures and waterfalls, while others have described how the glacier’s forces shape what you’re standing on.
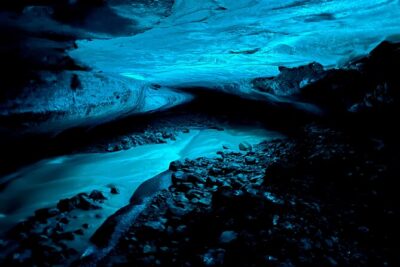
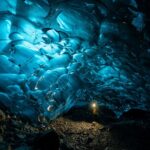
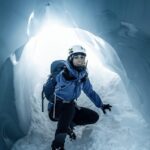
You may also get chances for more distinctive moments. In multiple cases, guides have shown guests a small ice cave while keeping the activity within safe access limits. Even if you don’t get a cave moment on your date, the “ice changes as we climb” experience is usually the highlight.
The Climb, the Higher Views, and the Lunch Break
As you move toward the highest point safely reachable, the walk becomes more about effort and rhythm. The tour is described as moderate difficulty, and the requirement is specific: you should be comfortable walking 6 km on uneven ground with about 250 m elevation gain.
In practical terms, you’ll feel the climb. You’ll also feel the cold more when you pause, so keep a layer ready. The upside is that higher on the glacier, the ice can look dramatically different. You’re not just seeing “big ice,” you’re getting a view of how the glacier reveals itself—stratified textures, shifting shapes, and the sense of depth that makes a glacier feel real, not staged.
At the highest safely accessible point, you’ll take a short lunch break on the glacier. This is not an “eat and go” moment. It’s timed like a breather for your body before the descent, and it also gives you a pause to absorb the scale. I find this matters: without a break, glacier walking can feel like one long push upward. With this pause, you get a full arc to the experience.
Then it’s back down from the glacier edge area, where you return to the Land Rover for the ride back to Skaftafell Terminal.
It’s Not Just Photos: The Glacier Walk Teaches You How to Look
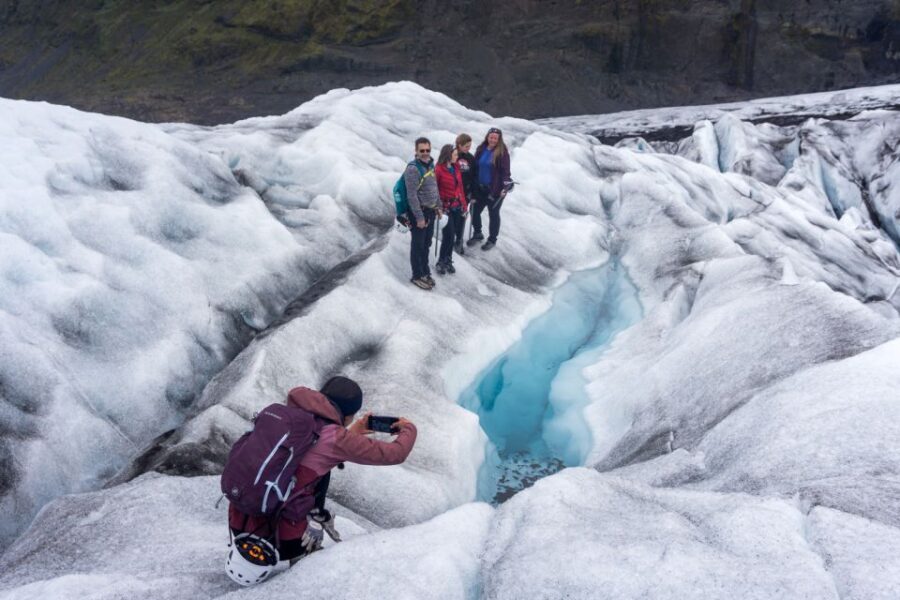
The best tours teach you how to see. This one does that in simple ways. When your guide points out fissures, explains why certain sections feel safer to walk, or shares how outlet glaciers work, the glacier stops looking like an abstract background and starts looking like a system.
Even the route itself teaches you something. Because the guide takes you to areas that fit both glacier conditions and your group’s pace, you’re experiencing the glacier’s constraints in real time. That makes the walk feel honest. It also explains why some areas are off-limits and why “more adventurous” doesn’t mean careless.
If you’re the kind of person who likes to understand what you’re looking at, you’ll leave with a better mental model of what an outlet glacier is doing at Falljökull. If you’re just after the raw wow factor, you still get it, especially when you reach those higher points.
What to Pack for Comfort (and Fewer Blisters)
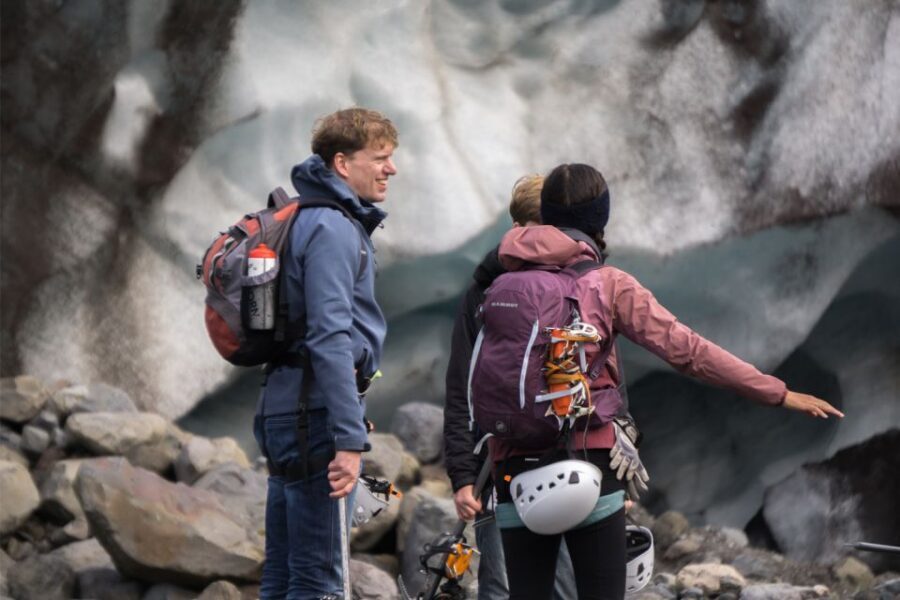
You’re on a glacier for about 3.5 hours of walking plus transfer time, so dress for movement plus wind chill. The tour recommends:
- Warm clothing
- Sunglasses (glare off ice is real)
- Hiking shoes (and bring water and food)
- Water
A few practical adds based on how crampons feel:
- Bring thick socks to reduce blister risk
- Pack a light snack if you don’t want to rely only on the short break
- Keep an extra warm layer handy in case you stop for explanations longer than expected
Also, if you’re used to minimalist boots, I’d rethink it. You need footwear that grips on uneven, icy terrain. If you don’t have hiking boots, you can rent them on-site (but it’s better to arrive ready if your schedule is tight).
Price and Value: Is $199 Worth It?
At $199 per person for about 4.5 hours, the value comes from what’s included and what it enables.
Here’s what you pay for:
- A certified glacier guide (the part that keeps you safe and makes the walk meaningful)
- All required glacier equipment (so you’re not hunting gear at the last minute)
- The 4×4 drive transfer, which shortens the day and gets you to the right starting zone
What you don’t pay for:
- Hiking boots (rental available on-site)
- Food and drinks (you bring these)
- Hotel pickup/drop-off
For me, the price feels fair because glacier guides aren’t interchangeable. The tour is limited to 8 people, which is usually where a higher-quality experience lives: less crowding, tighter control, and more time for instruction.
And the “go farther than the shorter walks” vibe is real in how the itinerary is built. If you’re considering a very short glacier walk, think about your goal: if you want genuine time on the ice and more chance to reach higher, more dramatic views, this format gives you that.
Who This Tour Is Perfect For (and Who Should Skip It)
This glacier walk suits you best if you:
- Want a moderate hiking challenge on a glacier
- Enjoy learning what you’re seeing, not just taking pictures
- Like the small-group experience and want your guide’s attention
It may not be for you if you:
- Have mobility impairments (not suitable as stated)
- Are traveling with children under 12
- Don’t feel comfortable walking 6 km on uneven terrain with elevation gain
If you’re “fit but cautious,” this could still work because the guide sets the pace and routes based on conditions and group needs. But if you’re worried about steady footing on uneven ground, you’ll want to reassess.
Should You Book This Skaftafell Extra Small Group Glacier Adventure?
Book it if your priority is time on Falljökull with a guide who teaches you what’s going on in the ice, in a small group of 8. The crampon instruction, certified guide, and included glacier equipment make it a smart way to do this without DIY risk.
Don’t book it if you’re looking for an easy, stroller-friendly walk. This is real walking on uneven terrain and you should be ready for effort, wind chill, and the discipline of using crampons correctly.
If you’re weighing Skaftafell glacier walks, I’d choose the ones that give you enough glacier time to reach higher points safely. This one is built for that, and it’s exactly the kind of trip that turns a glacier from a photo into a memory.
FAQ
FAQ
How long is the Skaftafell glacier adventure?
The tour lasts about 4.5 hours total, including time on the glacier walk and the 4×4 transfers.
What’s included in the price?
It includes a certified glacier guide, a 4×4 drive transfer, and all required glacier equipment.
Do I need to rent hiking boots?
Hiking boots are not included, but you can rent them on-site. You should also bring proper hiking shoes.
How many people are in the group?
The group is limited to a small size of up to 8 participants.
Is this tour suitable for children?
No. It is not suitable for children under 12.
What fitness level do I need?
It’s described as moderate difficulty. You must be able to comfortably walk 6 km on uneven terrain with about 250 m of elevation gain.
What happens if weather is dangerous?
The tour may be cancelled in case of dangerous weather, and you receive a full refund.